
TL;DR:
- Roof leaks can often be stopped early with proper diagnosis and temporary fixes.
- Safety precautions and correct tools are essential before attempting roof repairs.
- Regular maintenance and inspections prevent future leaks and costly damage.
You spot a brown water stain spreading across your ceiling the morning after a Texas thunderstorm. Your stomach drops. But here’s the reassuring truth: most roof leaks don’t become disasters overnight, and with the right steps, you can stop water in its tracks before it ruins your insulation, drywall, or worse. Roof leak repair starts with safety, moves through smart diagnosis, covers the damage temporarily, and finishes with a fix that holds. This guide walks El Campo homeowners through every stage, from grabbing your gear to cleaning up the aftermath and preventing the next leak before it starts.
Table of Contents
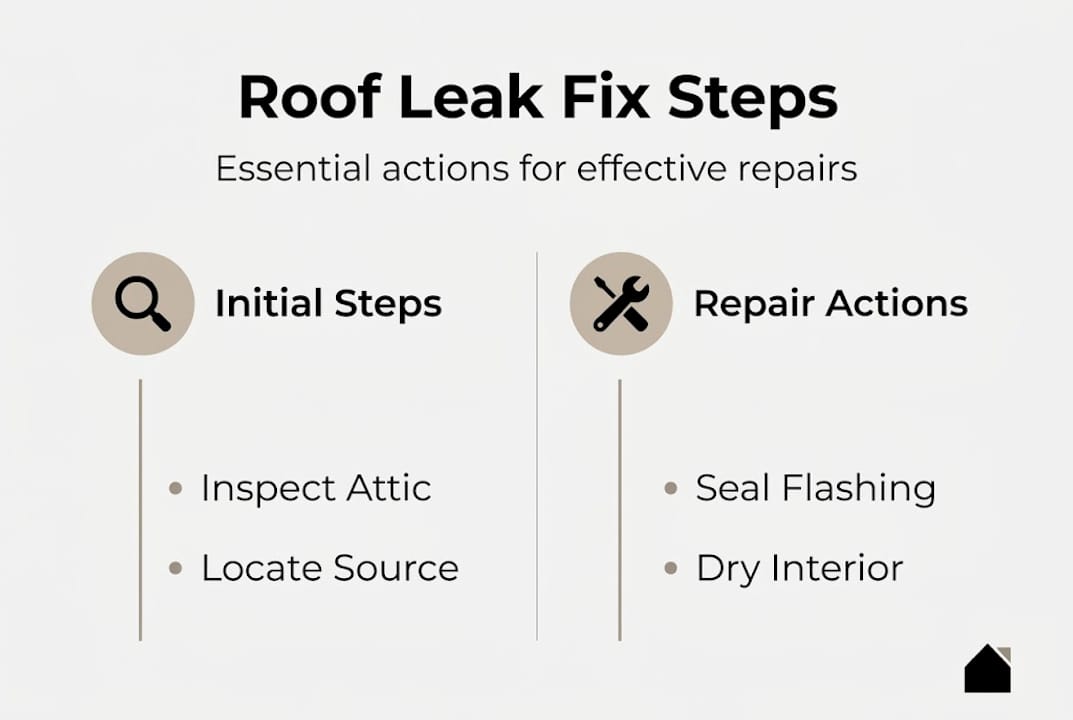
- Safety and preparation: Before you start
- Finding the leak: Locating and diagnosing the problem
- Temporary solutions: Fast fixes while you plan a repair
- Permanent repairs: How to fix common leak sources
- Finishing up: Interior cleanup and prevention tips
- Why DIY roof repair saves money but calls for honest self-assessment
- Need professional help? Roof repair and replacement in El Campo, TX
- Frequently asked questions
Key Takeaways
| Point | Details |
|---|---|
| Prioritize safety | Always use proper gear and caution before climbing onto your roof. |
| Diagnose precisely | Find the true leak source using attic inspections and water tests. |
| Act fast with temporary fixes | Tarp and seal leaks to minimize immediate water damage. |
| Choose the right permanent repair | Match your solution to your roof’s material and severity of damage. |
| Maintain and prevent | Routine checks and minor upkeep help avoid costly future leaks. |
Safety and preparation: Before you start
Now that you’re motivated to tackle your leak, the right start makes all the difference. Rushing onto a roof without the right setup is how minor problems turn into emergency room visits. Texas heat alone makes roofing surfaces dangerously hot, and summer storms leave roofs slick for hours after the rain stops. Treat safety as step zero, not an afterthought.
The repair process starts with safety for a reason. Falls are the leading cause of fatal construction injuries, and a residential roof is no different from a job site. Before you climb anything, let the roof dry completely and check the weather forecast to confirm you have a dry window of at least a few hours.
Personal protective equipment you need:
- Non-slip rubber-soled boots
- Work gloves to handle shingles and sealant
- Safety glasses to protect against debris
- A hard hat if you’re working under overhangs
- A roof harness and rope anchor for pitches above 4:12
“Never attempt roof repairs during rain or immediately after. Wet surfaces are unpredictable, and rushing a repair under pressure leads to missed spots, poor seals, and added risk.”
Pro Tip: Check the surface with your hand before stepping on it. If it feels slick or hot enough to burn, wait. Early morning is the safest time to work on El Campo roofs during summer.
Gathering the right materials before you climb saves you from making multiple trips up and down the ladder. Good roof maintenance tips always start with having everything ready on the ground first.
| Tool or material | Purpose |
|---|---|
| Extension ladder | Safe roof access |
| Pry bar or flat bar | Lifting shingles for inspection |
| Roofing hammer or nail gun | Securing replacement shingles |
| Roofing cement or sealant | Sealing gaps, cracks, and flashing |
| Replacement shingles | Patching damaged areas |
| Tarp and rope | Temporary weather protection |
| Chalk or marking tape | Marking leak spots during inspection |
| Shop vacuum or buckets | Interior water collection and cleanup |
Finding the leak: Locating and diagnosing the problem
With safety steps in place and tools at hand, it’s time to discover where the water is actually coming from. This is the part most homeowners rush, and it’s the most common reason a repair fails. Water is sneaky. It enters the roof at one point and travels several feet along rafters or sheathing before dripping down inside your home.
Signs to look for inside first:
- Water stains or dark rings on the ceiling
- Dripping or pooling water after rain
- Mold or mildew patches on walls or insulation
- Musty smell in the attic or upper rooms
- Peeling paint or bubbling drywall near the ceiling
Locating the leak via attic inspection is your most reliable first step. Grab a flashlight and head into the attic during or just after a rainstorm. Look for wet wood, discoloration on rafters, or daylight coming through gaps in the decking. Trace the moisture uphill from any wet spot because that’s where the entry point usually is.
Attic safety reminder: Watch where you step. Walk only on joists, never on insulation between them. Also check for exposed wiring near wet areas before touching anything electrical.
If the attic inspection doesn’t reveal the source, use the garden hose method. Have one person on the roof running water in small sections while another person stays inside watching for drips. Start low on the roof and work upward. Stay on each section for at least two minutes before moving up.
Understanding what causes roof leaks helps you know where to look first. Flashing around chimneys, vents, and skylights fails more often than open field shingles. Valleys where two roof planes meet are also high-risk zones.
Pro Tip: Once you spot the leak source, mark it with chalk or bright tape before you leave the attic. That marker saves you from searching again when you’re up on the roof.
Temporary solutions: Fast fixes while you plan a repair
Once the leak source is confirmed, quick action can help protect your home until a permanent repair is possible. Even if you plan to make a permanent fix the same day, sealing things temporarily first gives you breathing room to work carefully without rain sneaking back in.
Temporary tarping: Step by step
- Cut a tarp at least 4 feet larger than the damaged area on all sides
- Slide one edge under the ridge cap shingles at the top of the roof
- Drape the tarp down and over the damaged zone
- Secure the tarp edges with 2×4 boards screwed through the tarp into the roof deck
- Never nail or screw directly through the tarp alone; it will tear in wind
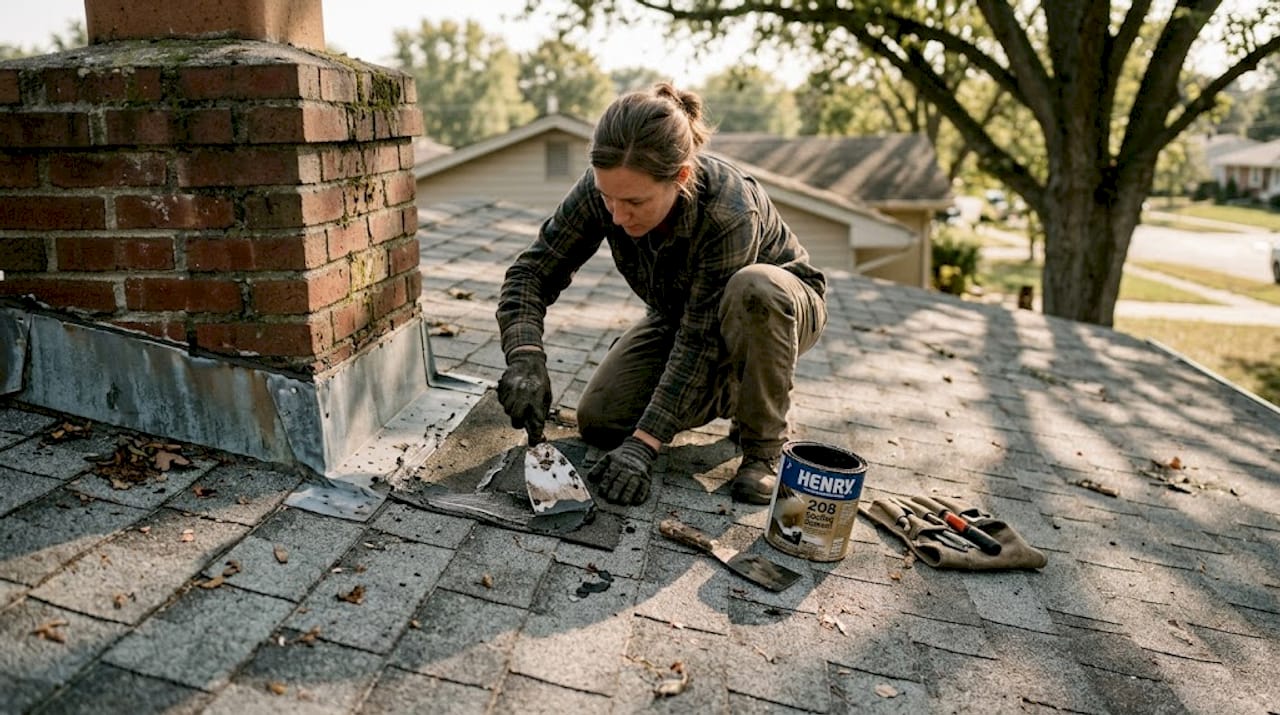
For minor cracks, holes, or gaps around flashing, roofing cement applied with a putty knife can seal water out immediately. Press the cement into the gap firmly, smooth it flat, and let it cure before the next rain. Roofing tape, also called flashing tape or butyl tape, works well on small punctures and along flashing edges.
Temporary solutions can reduce interior water damage by up to 80% when applied promptly, which means a quick tarp job is far cheaper than a full ceiling replacement.
Pro Tip: If you run out of tarps, thick plastic sheeting from a hardware store works almost as well for a 24 to 48 hour window. Double up two layers for better resistance.
For severe cases, including widespread shingle loss, visible structural damage, or leaks after major hail, emergency roof repair steps go beyond what a tarp can handle. That’s when a professional should assess the situation before more damage compounds.
Permanent repairs: How to fix common leak sources
Having stopped the immediate leak, it’s time to address repairs that will keep you dry for the long haul. Permanent fixes depend on your roof type and the specific problem. The most common issues in El Campo homes involve damaged shingles, failed flashing, or deteriorated seals around roof penetrations.
Replacing damaged shingles: Step by step
- Use a pry bar to lift the edges of surrounding shingles and expose the nails
- Pull the damaged shingle free after removing all four nails
- Slide the new replacement shingle into position, aligning it with adjacent shingles
- Nail it down with four roofing nails just below the adhesive strip
- Press the overlapping shingle tabs down to seal the adhesive
Sealing flashing and vents:
Clean old sealant away with a putty knife and wire brush. Apply a fresh bead of roofing sealant or polyurethane caulk along all edges where metal meets shingles or masonry. For flat roof repair steps, the approach shifts to patching membrane material and resealing seams rather than replacing shingles.
| Roof type | Common repair method | Skill level |
|---|---|---|
| Asphalt shingle | Replace shingles, seal flashing | Beginner to intermediate |
| Metal roof | Seal seams and fasteners, patch panels | Intermediate |
| Flat or TPO | Patch membrane, reseal seams | Intermediate to advanced |
Common mistakes to avoid:
- Nailing into wet or rotted decking without replacing it first
- Using indoor caulk instead of roofing-grade sealant
- Skipping the underlayment when replacing multiple shingles
- Ignoring surrounding shingles that are brittle or cracked
- Failing to check flashing after any shingle replacement
For homes that took a beating during Texas storms, storm damage repairs often involve more than surface patches. Always inspect the decking underneath for soft spots before closing everything back up.
Finishing up: Interior cleanup and prevention tips
Once outside repairs are complete, attention shifts to the inside and keeping your home safe from future leaks. Water that sat inside your attic or ceiling even for a short time can cause mold within 24 to 48 hours if not addressed. Acting fast on the interior side is just as important as the roof work itself.
Start by drying the interior thoroughly using fans and a dehumidifier. If insulation got soaked, it needs to come out. Wet insulation loses its effectiveness and becomes a mold breeding ground. Replace it once everything is dry and you’ve confirmed the exterior repair is holding.
Pro Tip: Schedule semi-annual roof checkups, once in spring before storm season and once in fall before winter rains. Catching small issues twice a year costs a fraction of what a major repair runs.
For ongoing prevention, consistent roof maintenance tips make a real difference. Keep gutters clear of debris so water drains away from your home. Trim tree limbs that overhang the roof to prevent abrasion and reduce falling branch risks. Walk the perimeter after big storms and look for granule piles in gutters, which signal aging shingles.
Red flags that mean you need a professional:
- Sagging or spongy sections of the roof deck
- Multiple leaks appearing after one storm
- Visible daylight through the attic roof boards
- Mold covering large areas of insulation or wood
- Roof age over 20 years with recurring leaks
If you’re noticing several of these signs, reviewing your roof replacement tips is a smart next step. A replacement may ultimately cost less than repeated repairs on an aging system.
Why DIY roof repair saves money but calls for honest self-assessment
Here’s the real-world wisdom few guides share: DIY roof repair is genuinely effective for isolated shingle replacements, minor flashing seals, and small penetration patches. If you’re comfortable on a ladder, patient with the process, and working on a relatively young roof, you can handle these repairs well and save hundreds of dollars.
But there are hidden costs that aren’t obvious until something goes wrong. Improper repairs can void your shingle manufacturer’s warranty. An insurance claim for water damage may be complicated if an adjuster determines the leak resulted from unprofessional work. And a repair that looks solid from the outside but misses the underlying cause often means doing the job twice within a year.
Texas roofs face intense UV exposure, rapid temperature swings, and hail seasons that accelerate wear faster than most other regions. An older roof with widespread granule loss or multiple soft spots is not a good candidate for patchwork. At that point, reviewing your options with roof replacement pros gives you a clearer picture of total cost versus long-term value. Know your skill level honestly, and never let pride push you into a repair that the roof or the situation can’t support.
Need professional help? Roof repair and replacement in El Campo, TX
Some leaks are straightforward fixes. Others signal deeper problems that DIY work simply can’t resolve safely or permanently.

If your home needs more than a patch, Mister ReRoof serves El Campo homeowners with expert roof replacement services built for Texas conditions. Whether you need shingle roof replacement in El Campo, a flat roof replacement for a low-slope structure, or a durable TPO roof replacement for long-term performance, the team brings local expertise and quality materials to every job. Contact Mister ReRoof today for a free estimate and get your home protected before the next storm rolls in.
Frequently asked questions
What is the fastest way to stop a roof leak during a storm?
Use a tarp or plastic sheeting to cover the damaged area and prevent more water from entering until you can make permanent repairs after the storm passes.
Can I repair a leaking roof myself, or do I need a professional?
Many minor leaks can be fixed DIY if you follow the right steps, but call a professional when the leak is large, structural damage is visible, or the roof is significantly aged.
What tools do I need to repair a roof leak?
You’ll need safety gear, a sturdy ladder, a tarp, roofing cement, a pry bar, a hammer, and replacement shingles or sealant depending on your specific roof type.
How can I prevent future leaks on my roof?
Regular inspections twice a year, cleaning gutters consistently, trimming overhanging branches, and addressing small damage quickly stop most leaks before they grow into costly problems.