
Texas homeowners face unique roofing challenges from intense sun, violent hailstorms, and hurricane-force winds that accelerate roof deterioration faster than in most regions. Whether your roof suffered storm damage or simply reached the end of its lifespan, understanding the replacement process helps you protect your investment and avoid costly mistakes. This comprehensive guide walks you through recognizing damage signs, selecting appropriate materials for Texas climate, preparing for your project, navigating the installation process, and maintaining your new roof for maximum longevity and performance.
Table of Contents
- Key takeaways
- Understanding when and why you need roof replacement
- Preparing for your roof replacement project
- Step-by-step roof replacement process explained
- Verifying quality and maintenance after replacement
- Trusted roof replacement services in El Campo and Houston
- Frequently asked questions
Key Takeaways
| Point | Details |
|---|---|
| Damage indicators | Identify missing or cracked shingles, water stains, daylight through roof boards, or excessive granules to catch issues early and prevent structural damage, and document condition with dated photos for insurance claims. |
| Replacement timing | Texas weather accelerates wear so many roofs require replacement every 15 to 20 years, making timely replacement essential to protect value and safety. |
| Material options | Choose materials engineered for heat, UV, wind, and hail such as impact rated asphalt, reflective metal, or TPO for flat roofs, balancing lifespan and maintenance with Texas climate. |
| Budgeting and quotes | Set a realistic budget with a 10 to 15 percent contingency and obtain three written estimates to compare scope, warranties, and payment terms. |
| Contractor vetting | Thoroughly vet contractors by verifying current licenses, liability insurance, and warranty terms before signing a contract. |
Understanding when and why you need roof replacement
Recognizing roof damage early prevents minor issues from escalating into structural problems that threaten your home’s integrity and your family’s safety. Texas weather creates particularly harsh conditions that wear down roofing materials faster than moderate climates.
Common damage indicators include missing or cracked shingles, water stains on ceilings, daylight visible through roof boards, and excessive granule accumulation in gutters. Curling or buckling shingles signal advanced age and weathering. Sagging roof sections indicate serious structural concerns requiring immediate professional attention.
High winds from thunderstorms and hurricanes lift shingles and tear flashing loose. Hail impacts create dents and cracks that compromise waterproofing. Intense UV radiation breaks down asphalt compounds and fades protective granules. These combined stressors mean Texas roofs typically need replacement every 15-20 years, compared to 25-30 years in cooler regions.
Delaying necessary replacement allows water infiltration that rots decking, damages insulation, promotes mold growth, and weakens structural framing. Replacing your roof timely prevents these cascading failures and maintains property value. Insurance companies may deny claims for damage resulting from deferred maintenance on obviously failing roofs.
Schedule professional inspection if you notice any warning signs or after significant weather events. Experienced contractors identify subtle damage invisible from ground level and assess whether repairs suffice or full replacement becomes necessary.
Pro Tip: Document roof condition with dated photos before and after major storms. This evidence supports insurance claims and helps contractors assess damage accurately during initial consultations.
“Most homeowners wait too long to address roof problems, turning manageable repairs into expensive full replacements. Regular inspections catch issues early when solutions cost less and prevent secondary damage throughout the home.”
Preparing for your roof replacement project
Thorough preparation streamlines your roof replacement, minimizes surprises, and ensures you select materials and contractors that deliver lasting value. Smart planning prevents budget overruns and installation delays.
Start by establishing a realistic budget that accounts for materials, labor, permits, disposal fees, and a 10-15% contingency for unexpected repairs discovered during tear-off. Get detailed written estimates from at least three licensed contractors. Compare scope of work, material specifications, warranty terms, and payment schedules rather than focusing solely on bottom-line price.
Texas climate demands materials engineered for extreme heat, UV exposure, high winds, and hail impacts. Asphalt shingles offer affordability and variety but require impact-resistant ratings for hail-prone areas. Metal roofing provides superior durability and energy efficiency through reflective coatings. TPO membranes excel on flat or low-slope roofs with excellent UV resistance and heat reflection. Each material carries different lifespans, maintenance requirements, and aesthetic considerations.
Proper preparation includes vetting contractors thoroughly before signing contracts. Verify current licenses, liability insurance, and workers’ compensation coverage. Request references from projects completed within the past year and follow up with those homeowners. Review online ratings across multiple platforms. Examine warranty offerings for both materials and workmanship.
Check local building codes and homeowners association requirements before finalizing material selections. Most municipalities require permits for roof replacement. Your contractor typically handles permit applications, but verify this responsibility in your contract. Some neighborhoods restrict color choices or material types to maintain aesthetic consistency.
Prepare your property by clearing items from walls, relocating vehicles from driveways, and protecting landscaping near the house. Inform neighbors about the project timeline and potential noise. Arrange alternative accommodations for pets sensitive to construction activity.
Pro Tip: Review your homeowner’s insurance policy before starting. Some insurers offer discounts for impact-resistant materials or require notification before major roofing work. Understanding coverage helps you make informed material choices that may reduce future premiums.
| Material type | Lifespan | Best for | Considerations |
|---|---|---|---|
| Asphalt shingles | 15-25 years | Budget-conscious projects | Choose Class 4 impact rating for hail zones |
| Metal roofing | 40-70 years | Long-term investment | Higher upfront cost, excellent energy efficiency |
| TPO membrane | 20-30 years | Flat or low-slope roofs | Superior UV resistance, heat-reflective |
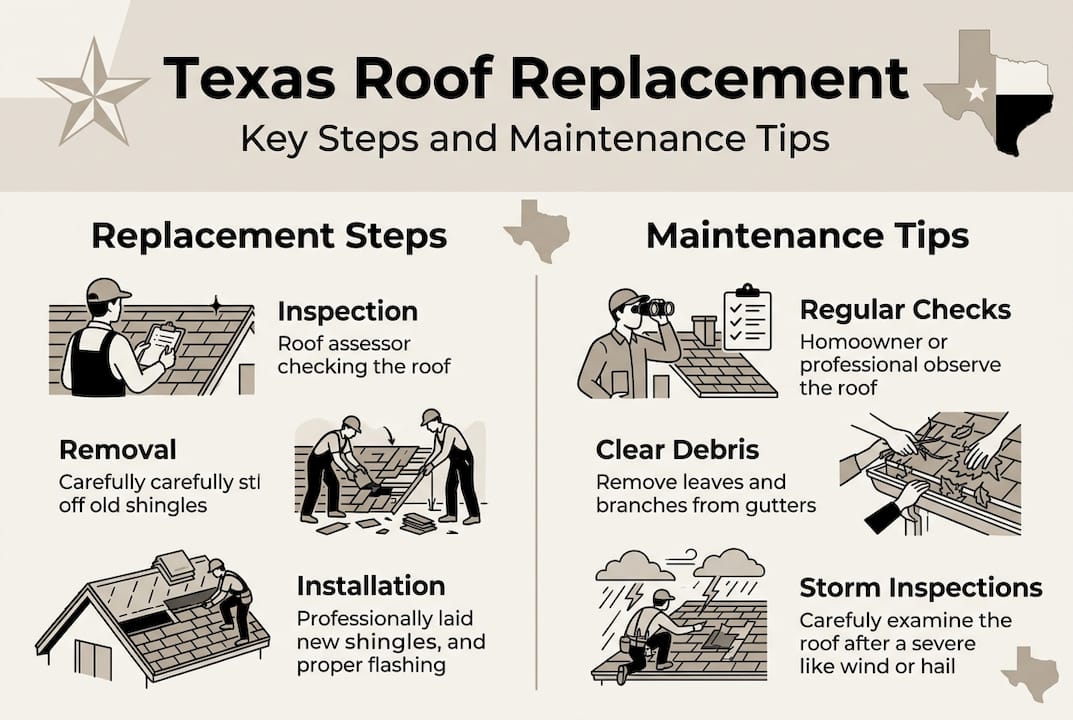
Step-by-step roof replacement process explained
Understanding the replacement sequence helps you know what to expect each day, communicate effectively with your contractor, and recognize quality workmanship as installation progresses.
-
Initial inspection and tear-off begins with contractors examining the existing roof structure, identifying damaged decking or framing requiring repair. Workers remove old roofing materials down to the deck, disposing of debris in dumpsters or trailers. This phase generates significant noise and vibration throughout your home.
-
Decking repair addresses any rotted, warped, or damaged sheathing discovered during tear-off. Contractors replace compromised sections with new plywood or OSB panels that meet current building codes. Proper decking provides a solid foundation essential for new roofing performance.
-
Underlayment installation creates a waterproof barrier between decking and finish roofing. Synthetic underlayment offers superior durability compared to traditional felt paper. Contractors overlap seams and secure material with staples or nails according to manufacturer specifications.
-
Flashing and drip edge installation protects vulnerable areas where roof planes meet walls, chimneys, vents, and valleys. Metal flashing channels water away from joints and penetrations. Drip edge along eaves and rakes prevents water from wicking back under roofing materials.
-
Roofing material application proceeds from bottom to top, ensuring proper water shedding. Shingle installation requires precise nail placement and alignment. Metal panels demand careful fastening to allow thermal expansion. TPO membranes need heat-welded seams for watertight performance. Experienced crews work systematically to maintain consistent appearance and weatherproofing.
-
Ridge cap and ventilation finishing completes the installation with specialized ridge shingles or metal caps that seal the roof peak while allowing attic ventilation. Proper ventilation extends roof life by reducing heat buildup and moisture accumulation.
-
Cleanup and final inspection involves removing all debris, using magnetic sweepers to collect stray nails, and conducting thorough quality checks. Contractors verify proper installation, check flashing integrity, and ensure clean job site before requesting final payment.
Typical project duration ranges from one to three days for most residential roofs, depending on size, complexity, and weather conditions. Larger homes, multiple roof planes, or extensive decking repairs extend timelines. Rain delays pause work to protect exposed decking.
Pro Tip: Take photos throughout the installation process, particularly of underlayment, flashing details, and decking repairs. This documentation proves valuable for warranty claims and provides records of work quality hidden beneath finish materials.
| Installation phase | Duration | Key quality indicators |
|---|---|---|
| Tear-off and decking repair | 0.5-1 day | Complete removal, solid deck |
| Underlayment and flashing | 0.5-1 day | Proper overlap, secure fastening |
| Material application | 1-2 days | Straight lines, consistent exposure |
| Cleanup and inspection | 0.25 day | No debris, magnetic sweep complete |
Verifying quality and maintenance after replacement
Post-installation verification ensures you receive the quality workmanship you paid for, while establishing maintenance habits protects your investment for decades.
Conduct a thorough walk-around inspection before making final payment. Examine shingle alignment and verify straight, consistent rows without gaps or misalignment. Check flashing around chimneys, vents, and valleys for proper sealing and secure attachment. Inspect gutters and downspouts for proper fastening and clear flow. Look for any debris, stray nails, or damage to siding, windows, or landscaping.
Verify installation matches contract specifications regarding material brand, color, and warranty registration. Request copies of manufacturer warranties and contractor workmanship guarantees. Ensure your contractor submitted warranty registration on your behalf, as many manufacturers require registration within specific timeframes for coverage activation.
Climb into your attic on a sunny day to check for light penetration through the roof deck, which indicates installation gaps or damaged materials. Examine underlayment visibility and ventilation components from below. Proper installation shows no light leaks and maintains adequate airflow.
Performing regular checks preserves roof condition and catches minor issues before they escalate. Clear leaves, branches, and debris from roof surfaces and gutters quarterly. Trim overhanging tree limbs that scrape roofing or drop excessive debris. Inspect flashing and sealants annually for cracks or separation.
Schedule professional inspections after major storms, even if you notice no obvious damage. Hail impacts and wind damage may not become apparent until water infiltration occurs. Many contractors offer free storm damage assessments that identify problems while insurance claims remain viable.
Plan biannual professional tune-ups that include detailed inspections, minor repairs, gutter cleaning, and ventilation checks. These preventive services cost far less than emergency repairs and extend roof lifespan significantly. Most contractors offer maintenance plans with priority scheduling and discounted service rates.
Pro Tip: Create a roof maintenance log documenting inspection dates, findings, repairs, and contractor contacts. This record demonstrates proper care for warranty claims and helps future contractors understand your roof’s service history.
“Homeowners who invest in routine maintenance and prompt minor repairs typically get 20-30% more life from their roofs compared to those who neglect upkeep. Small investments in prevention save thousands in premature replacement costs.”
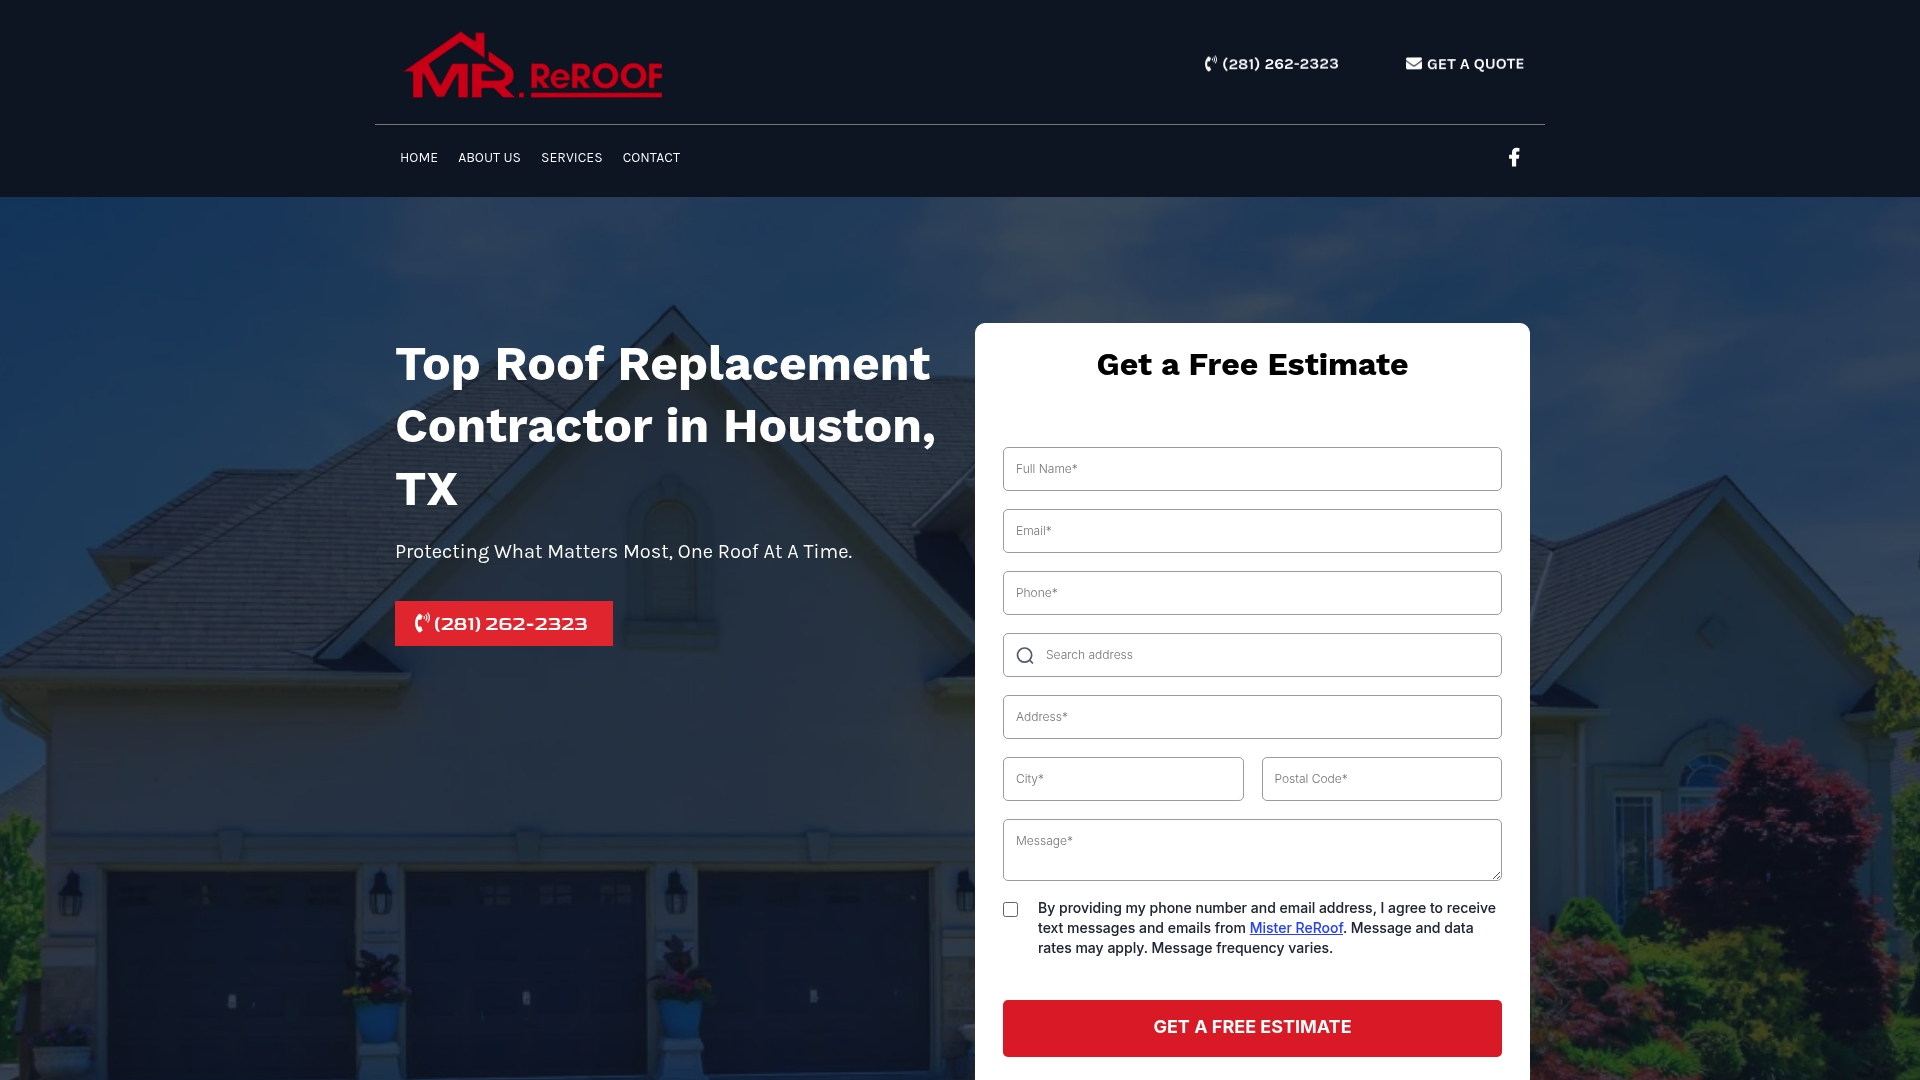
Trusted roof replacement services in El Campo and Houston
When you need reliable roof replacement that withstands Texas weather extremes, Mister ReRoof delivers the expertise and quality workmanship your home deserves. Our team specializes in roof replacement services in El Campo and throughout the Houston area, helping homeowners protect their properties with durable solutions engineered for Gulf Coast conditions.
We offer comprehensive roofing options including shingle roof replacement in El Campo with impact-resistant materials that stand up to hail and high winds. For properties with low-slope or commercial applications, our flat roof replacement in El Campo uses advanced TPO and modified bitumen systems that provide superior waterproofing and energy efficiency. Every installation comes with detailed warranties and our commitment to quality that keeps your family safe and your investment protected. Contact Mister ReRoof today for a free estimate and discover why Texas homeowners trust us for roof replacement that lasts.
Frequently asked questions
How do I know if my roof needs replacement?
Look for missing shingles, water stains on ceilings, curling edges, and excessive granule loss in gutters as primary indicators your roof requires replacement. Age over 20 years combined with frequent repair needs also signals it’s time for a new roof. Schedule professional inspection if you notice multiple warning signs or after severe weather events.
What is the average time frame for a roof replacement in Texas?
Most residential roof replacements take one to three days depending on roof size, complexity, and weather conditions. Preparation work and final cleanup may extend the total project timeline by an additional day. Larger homes with multiple roof planes or extensive decking repairs require longer installation periods.
Which roofing materials are best suited for Texas weather?
Asphalt shingles with Class 4 impact ratings and metal roofing perform exceptionally well in Texas heat, storms, and hail conditions. TPO membranes excel for flat roofs with outstanding UV resistance and heat reflection that reduces cooling costs. Each material offers different lifespans, aesthetics, and maintenance requirements suited to specific applications and budgets.
How can I ensure quality workmanship from a roofing contractor?
Verify contractors hold current licenses, liability insurance, and workers’ compensation coverage before signing any agreements. Ask detailed questions about installation methods, material specifications, and warranty terms. Request references from recent projects and inspect their work quality firsthand when possible.
What maintenance should I perform after roof replacement?
Clear debris from roof surfaces and gutters quarterly to prevent water pooling and material deterioration. Inspect flashing, sealants, and shingles after major storms for damage requiring prompt repair. Schedule professional inspections annually or biannually to catch minor issues early and maintain warranty coverage through documented upkeep.