
Heavy storms in Houston often leave homeowners staring at scattered shingles and worrying about leaks. Addressing shingle damage safely not only protects your home but also prevents minor issues from turning into costly repairs. By learning simple, reliable steps to assess, remove, and replace damaged shingles, you can take control of urgent roof repairs with confidence before calling in a professional.
Table of Contents
- Step 1: Assess Shingle Damage Safely
- Step 2: Gather Essential Repair Tools
- Step 3: Remove Damaged Roof Shingles
- Step 4: Install New Shingles Correctly
- Step 5: Seal and Secure All Replacement Areas
- Step 6: Inspect the Roof for Proper Repairs
Quick Summary
| Key Point | Explanation |
|---|---|
| 1. Safely assess roof damage | Inspect ground for fallen shingles and check roof from multiple angles before climbing. |
| 2. Gather essential repair tools | Collect necessary tools and safety gear to streamline the repair process and ensure safety. |
| 3. Remove damaged shingles carefully | Use a pry bar and follow the correct technique to prevent damaging surrounding shingles. |
| 4. Install new shingles accurately | Ensure proper overlap and nail placement to create a watertight seal during installation. |
| 5. Conduct a thorough post-repair inspection | Review the work done, looking for gaps or misalignments to ensure the roof is secure against leaks. |
Step 1: Assess Shingle Damage Safely
Knowing how to safely evaluate your roof’s condition is crucial for preventing costly future repairs. When assessing shingle damage, your primary goal is to identify potential issues without risking personal safety or causing additional harm to your roofing system.
Begin your inspection by carefully examining the ground around your house for fallen shingle pieces or granules, which often indicate underlying roof problems. Visual roof inspection techniques recommend observing your roof from multiple angles and distances before attempting any close examination.
Key signs of shingle damage to look for include:
- Missing shingles or visible gaps in roofing
- Curling or buckling shingle edges
- Dark streaks or discoloration
- Visible granule loss on shingle surfaces
- Cracked or damaged shingle material
While ground-level assessment provides initial insights, professional roof inspections remain the safest approach. If you decide to conduct a closer examination, use proper safety equipment like non-slip shoes, a sturdy ladder, and consider having a spotter nearby.
Here’s a comparison of ground-level vs. professional roof inspections for safety and thoroughness:
| Inspection Method | Safety Level | Thoroughness | Typical Use Case |
|---|---|---|---|
| Ground-level viewing | Very high (no climbing) | Moderate | Initial damage assessment |
| Professional inspection | High (trained, equipped) | Comprehensive | Full roof health evaluation |
Pro tip: Always prioritize personal safety over DIY roof inspections and consider hiring a professional if you’re uncomfortable with heights or lack proper safety equipment.
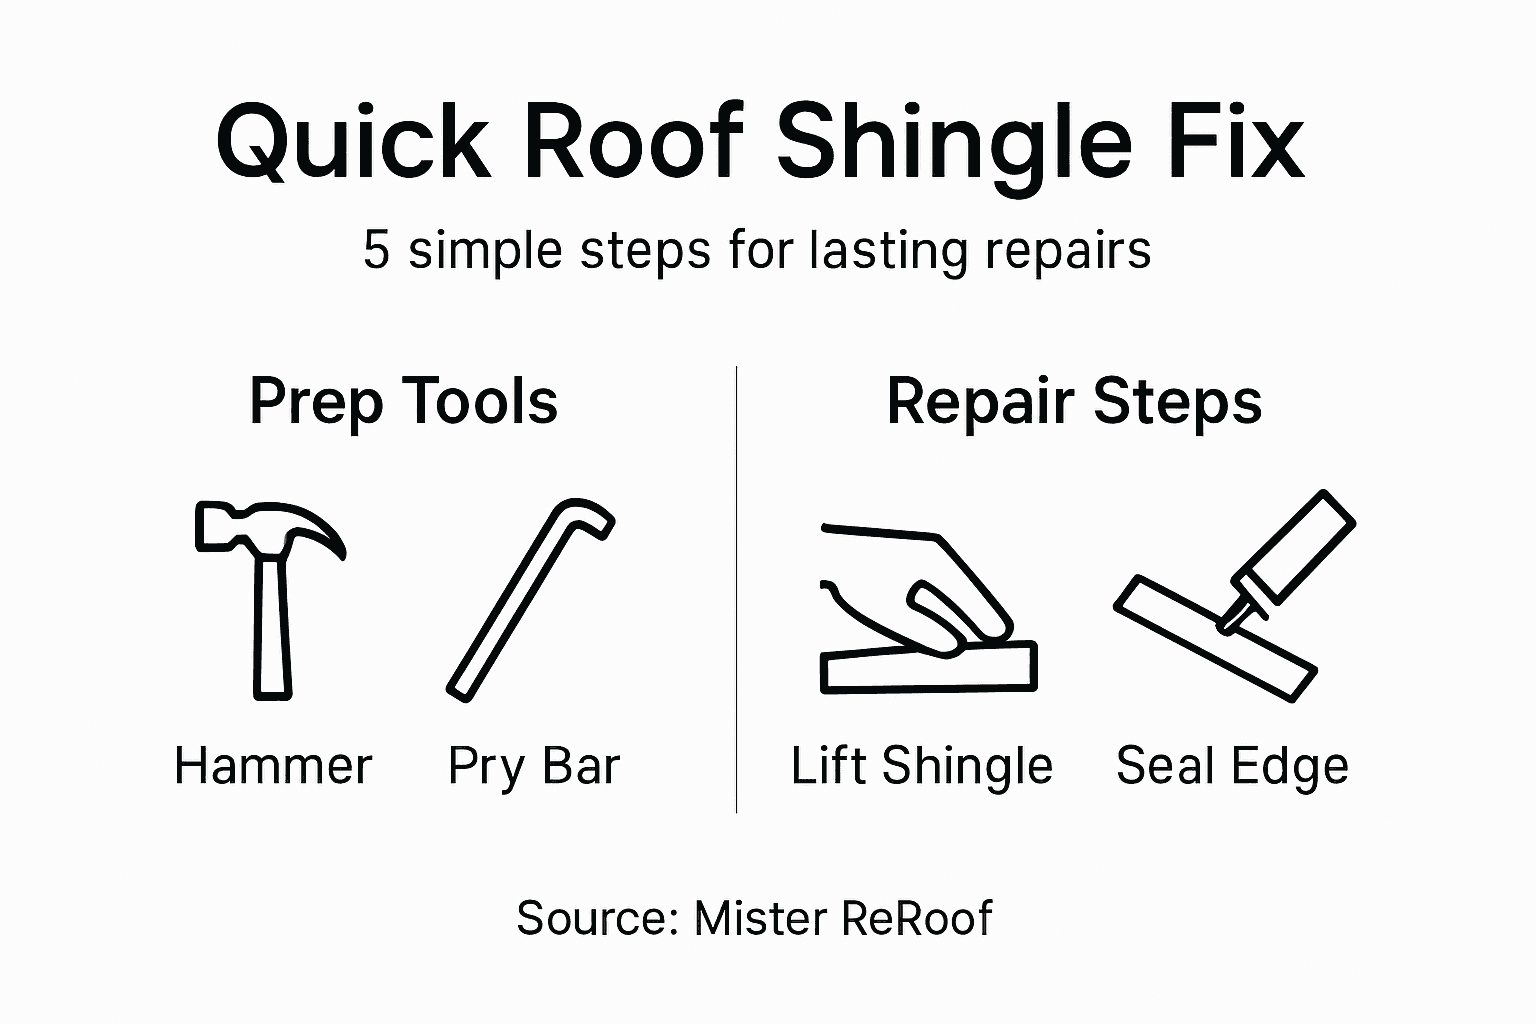
Step 2: Gather Essential Repair Tools
Before climbing onto your roof, you’ll need to assemble a comprehensive toolkit that ensures safe and effective shingle repairs. Having the right equipment can make the difference between a quick fix and a potential disaster.
Essential roofing repair tools include several key items to help you complete your roof restoration project successfully. Here’s what you’ll need to collect:
- Roofing hammer or pneumatic roofing nailer
- Pry bar or specialized shingle removal tool
- Replacement shingles matching your existing roof
- Roofing nails in appropriate length and material
- Utility knife with fresh blades
- Roofing cement or mastic sealant
- Caulking gun
Safety should always be your first priority. Gather protective gear such as:
For quick reference, here’s a summary of essential protective gear and its purpose during roof repairs:
| Protective Gear | Purpose | Best Usage Scenario |
|---|---|---|
| Non-slip work boots | Prevent slips and falls | Wet or steep roofing surfaces |
| Safety glasses | Shield eyes from debris | Cutting or nailing shingles |
| Work gloves | Protect hands from injury | Handling sharp materials |
| Safety harness | Prevent fall injuries | Working on steep roof angles |
- Non-slip work boots
- Safety glasses
- Work gloves
- Sturdy ladder
- Safety harness (recommended for steeper roofs)
Proper tool preparation can significantly reduce repair time and minimize potential damage to your existing roof structure.
Take time to inspect each tool before starting your repair. Ensure blades are sharp, nails are rust-free, and all equipment is in good working condition.
Pro tip: Always keep your tools organized in a dedicated toolbelt or portable container to streamline your repair process and avoid unnecessary trips up and down the ladder.
Step 3: Remove Damaged Roof Shingles
Removing damaged roof shingles requires precision and care to prevent additional damage to your roof’s structure. Understanding the correct technique will help you successfully replace compromised shingles and protect your home from potential water damage.
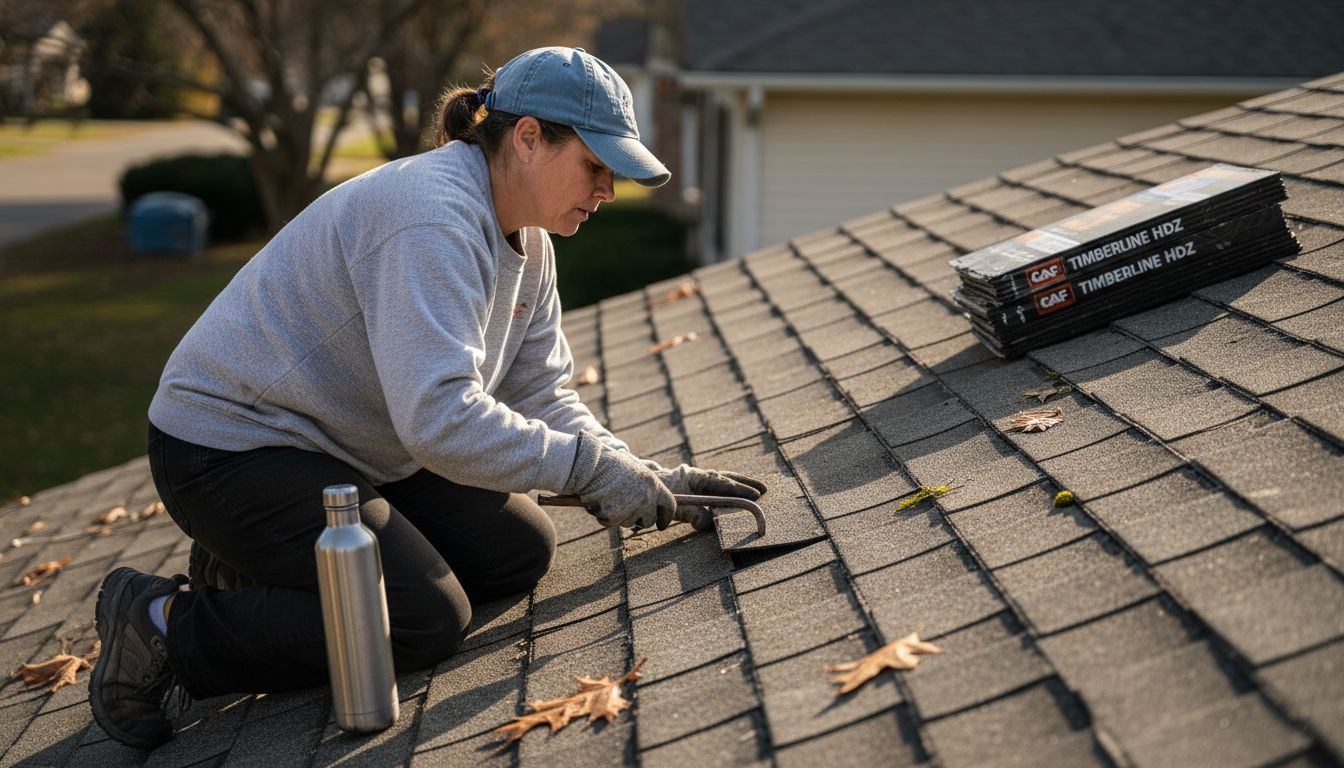
Roof shingle removal techniques involve carefully breaking the adhesive bonds and extracting the damaged sections without disturbing surrounding materials. Start by identifying the specific damaged area and gathering your removal tools.
Follow these careful steps to remove damaged shingles:
- Use a roofing pry bar to lift the edges of surrounding shingles
- Break the adhesive strip connections
- Remove exposed roofing nails with a hammer or nail puller
- Gently slide out the damaged shingle
Key considerations during removal include:
- Work slowly and methodically
- Protect surrounding shingles from unnecessary stress
- Inspect the roof deck for underlying damage
- Check for signs of wood rot or structural issues
Older roofs require extra caution during shingle removal to prevent additional damage to brittle materials.
After removing the damaged shingle, thoroughly clean the area and inspect the underlying roof deck for any additional issues that might compromise your repair.
Pro tip: Take multiple photographs of the damaged area before removal to help you match replacement shingles precisely and document the repair process.
Step 4: Install New Shingles Correctly
Successful roof repair hinges on installing new shingles with precision and care. Your goal is to create a watertight seal that protects your home from potential leaks and weather damage.
Proper shingle installation techniques require meticulous attention to detail and following manufacturer guidelines carefully. Begin by preparing a clean, smooth surface and ensuring your replacement shingles match the existing roof material.
Follow these critical installation steps:
- Start at the bottom row of the roof
- Overlap shingles correctly
- Use corrosion-resistant roofing nails
- Space nails precisely
- Ensure each shingle lies flat
Key installation considerations include:
- Check each shingle for proper alignment
- Stagger the seams between rows
- Avoid creating continuous vertical joints
- Use roofing cement for extra seal strength
Consistent nail placement and proper shingle overlap are crucial for creating a durable roof surface.
Take extra care when working in cold weather, as shingles can become less flexible and more prone to cracking during installation.
Pro tip: Work on a dry day with temperatures between 40-85 degrees Fahrenheit for optimal shingle flexibility and adhesion.
Step 5: Seal and Secure All Replacement Areas
After installing new shingles, the critical final step is ensuring every replacement area is completely sealed and secured against potential water infiltration and wind damage. Your goal is to create a robust, watertight barrier that protects your home for years to come.
Roof penetration sealing techniques are essential for preventing future leaks and maintaining your roof’s structural integrity. Pay close attention to areas around vents, pipes, and roof valleys where water can potentially penetrate.
Key sealing steps include:
- Apply self-sealing bituminous membranes
- Overlap waterproof materials correctly
- Use compatible roofing sealants
- Integrate flashing properly
- Check adhesive strip connections
Important sealing considerations:
- Use roofing cement for additional protection
- Ensure complete coverage of nail heads
- Verify adhesive strips bond fully
- Hand-seal edges in cold weather conditions
Proper sealing is the difference between a temporary fix and a long-lasting roof repair.
Take extra time to inspect each sealed area carefully, looking for any gaps or potential weak points that could compromise your repair.
Pro tip: Apply roofing cement sparingly and precisely, using just enough to create a water-resistant seal without creating unnecessary bulk or weight.
Step 6: Inspect the Roof for Proper Repairs
After completing your shingle repairs, a thorough inspection ensures the work meets professional standards and protects your home from potential future damage. This final assessment is critical to verifying the quality and effectiveness of your repair efforts.
Comprehensive roof inspection protocols recommend a systematic approach that starts from the interior and moves outward, carefully examining every aspect of your recent repair work. Your goal is to catch any potential issues before they become costly problems.
Key inspection areas include:
- Check interior ceiling for water stains
- Examine roof surface for alignment
- Verify shingle edge connections
- Test seal integrity around penetrations
- Look for potential water pooling zones
Critical inspection points:
- Ensure no exposed nail heads
- Confirm proper shingle overlap
- Check flashing around vents and chimneys
- Verify no gaps in sealant
- Look for consistent shingle color and positioning
A meticulous post-repair inspection can prevent expensive water damage and extend your roof’s lifespan.
If you discover any inconsistencies or potential weak points, address them immediately or consider consulting a professional roofing contractor.
Pro tip: Take clear, well-lit photographs during your inspection to document repairs and create a visual record for future reference or insurance purposes.
Protect Your Home with Expert Roof Shingle Repairs from Houston’s Trusted Professionals
Struggling with damaged or missing shingles can quickly lead to costly water damage and roof deterioration. This article showed you how important it is to identify shingle issues early, use the right tools, and seal repairs properly to maintain a durable roof. If you want to avoid the hassle and risk of DIY repairs for Houston’s challenging weather conditions you deserve a roofing solution that offers lasting protection and peace of mind.

Take the next step toward a secure roof by contacting Mister ReRoof a professional roofing contractor in Houston TX specializing in high-quality shingle replacement and repair services. With proven expertise and customer-focused service visit Mister ReRoof today for a free estimate and discover how our durable roofing systems can safeguard your home. Don’t wait for minor damage to turn into major repairs call us now to ensure your roof stands strong against every storm.
Frequently Asked Questions
How do I safely assess my roof shingles for damage?
To safely assess your roof shingles, start by examining the ground around your house for fallen shingle pieces or granules. Then, observe your roof from a distance, looking for missing shingles or signs of discoloration before climbing up for a closer inspection.
What tools do I need to repair roof shingles?
You will need several essential tools, including a roofing hammer, pry bar, replacement shingles, and roofing nails. Gather protective gear like non-slip work boots and safety glasses to ensure your safety while working on the roof.
How do I remove damaged roof shingles without causing additional harm?
To remove damaged shingles, carefully lift the edges of the surrounding shingles using a roofing pry bar, break the adhesive bonds, and extract the damaged shingle. Work slowly and methodically to avoid damaging surrounding materials or the roof deck.
What steps should I follow to install new shingles correctly?
To install new shingles correctly, start at the bottom row, overlap each shingle properly, and use corrosion-resistant roofing nails. Ensure each shingle is aligned, and stagger the seams between rows for better water resistance.
How can I ensure my roof repairs are sealed and secured properly?
To seal and secure your roof repairs, apply self-sealing membranes and use compatible roofing sealants around areas prone to water infiltration, like vents and pipes. Thoroughly check adhesive strip connections and cover all nail heads to prevent future water damage.
What should I inspect after completing my roof shingle repairs?
After completing your roof shingle repairs, inspect for proper alignment, verify shingle edge connections, and check for any visible gaps in sealant. Look for signs of water stains inside your home to ensure that your repairs effectively prevent leaks.
