

TL;DR:
- Regular, biannual inspections and prompt repairs are essential for maintaining Texas shingles against severe weather. Protecting your investment involves careful debris removal, vigilant storm damage checks, and consulting licensed professionals for complex repairs. Building a relationship with local roofing experts ensures long-term roof performance, safety, and warranty preservation.
Your shingle roof takes a beating in Texas. Between the blazing summer heat, sudden hailstorms, and high winds that roll through El Campo and Houston, a neglected roof can go from “slightly worn” to “actively leaking” in just one bad season. Most homeowners don’t realize that skipping routine maintenance turns a $300 gutter cleaning into a $10,000 water damage repair. This guide gives you practical, step-by-step maintenance advice tailored to Texas conditions, so you can stay ahead of damage, extend your roof’s life, and protect the investment you’ve put into your home.
Table of Contents
- Why regular shingle roof maintenance matters in Texas
- Essential tools and safety basics for shingle roof maintenance
- Step-by-step shingle roof maintenance routine
- How to handle debris, moss, and algae safely
- Post-storm inspection and professional help
- The uncomfortable truth: DIY has limits and why pros matter
- Protect your investment: Connect with Texas roofing experts
- Frequently asked questions
Key Takeaways
| Point | Details |
|---|---|
| Texas roofs require frequent checks | Regular semi-annual inspections plus storm follow-ups are critical in El Campo and Houston. |
| Gentle cleaning maximizes roof life | Avoid pressure washing to prevent granule loss and extend shingle durability. |
| DIY has limits—pro repairs prevent leaks | Professionals should handle shingle replacements and sealing for long-lasting results. |
| Storm aftermath needs urgent attention | Quick post-storm inspections and repairs protect against water intrusion. |
| Invest in preventative care | Routine maintenance is far cheaper than neglect-induced repairs for Texas homeowners. |
Why regular shingle roof maintenance matters in Texas
Texas is genuinely hard on roofing materials. The state throws nearly every type of extreme weather at your shingles, from 100-plus-degree summers that cause thermal expansion and cracking, to hailstorms that can strip granules in minutes, to coastal humidity around Houston that promotes algae and moss growth. El Campo sits right in the heart of a region that sees severe thunderstorms repeatedly each spring and fall. That combination of UV intensity, moisture swings, and storm frequency means your asphalt shingles for Houston homes face conditions that shorten their expected lifespan faster than in milder climates.
Semi-annual roof inspections in spring and fall are the baseline, plus a check after any major storm. That schedule isn’t arbitrary. Spring inspections catch winter and storm damage before summer heat bakes existing cracks wider. Fall inspections let you seal up vulnerable spots before winter moisture sets in. Skipping even one cycle allows small issues, like a lifted shingle or a cracked vent boot, to become leaks that soak into your decking and attic insulation.
Here’s what Texas homeowners deal with most often:
- Hail strikes that crack or dent shingles and strip protective granules
- High winds (common in both El Campo and Houston) that lift shingle edges or blow them off entirely
- Extreme heat that causes shingles to blister and age prematurely
- Falling tree debris from the dense oak and pine trees across the region
- Algae and moss growth driven by humidity, especially in shaded areas
According to solid regular roof maintenance in Texas practices, catching these problems early is the single most effective way to control long-term costs.
| Maintenance scenario | Typical annual cost |
|---|---|
| Routine inspection and cleaning | $200 to $500 |
| Minor shingle repairs caught early | $300 to $600 |
| Water damage from ignored leak | $3,000 to $10,000+ |
| Full premature roof replacement | $8,000 to $18,000+ |
That table tells the whole story. A small investment in maintenance keeps you far away from the expensive right column. And these roof maintenance tips for Houston homeowners apply whether your home has 10-year-old shingles or brand-new ones. Proper care is what bridges the gap between your roof’s rated lifespan and its actual performance.
Essential tools and safety basics for shingle roof maintenance
Understanding Texas-specific threats, the next step is assembling the right tools and practicing roof safety.
Here’s the good news: most of your inspection work happens on the ground. Ground-based visual inspections with binoculars are highly effective, especially when you focus on common leak points like chimneys, vent penetrations, skylights, valleys, and roof edges. You don’t need to climb up and risk a fall to get a clear picture of your roof’s condition.
| Tool or supply | Purpose |
|---|---|
| Binoculars | Close-up shingle and flashing inspection from the ground |
| Phone or camera | Documenting damage or changes over time |
| Stiff broom | Sweeping debris from accessible edges |
| Soft-bristle brush | Gentle cleaning of shingles and gutters |
| Leaf blower | Clearing leaves and debris from gutters and valleys |
| Work gloves | Hand protection during cleaning and debris removal |
| Roof-safe cleaning solution | Treating algae and moss without stripping granules |
| Non-slip footwear | Critical if climbing is unavoidable and conditions are safe |
Safety should never feel optional. Follow these basics before you start any maintenance:
- Always tell someone when you’re working on or near the roof
- Never work on a wet or frost-covered roof — the surface becomes dangerously slippery
- Use a secured, stable ladder placed on firm, level ground
- Wear rubber-soled shoes if you must step onto the roof surface
- Check the forecast and avoid any work before or during storms
Safety warning: Do not climb onto your roof if there is any uncertainty about its structural condition, if you’ve just had a major storm, or if you have no prior experience with roof work. A fall from a single-story roof can cause serious injury. When in doubt, keep your feet on the ground and call a licensed roofing professional.
Pro Tip: A quality pair of binoculars gives you a surprisingly detailed view of shingle condition, flashing gaps, and granule loss from the comfort of your yard. You can check most of what matters without ever touching a ladder. Use your phone to photograph anything that looks off, and build a simple dated photo log over time. That visual record becomes extremely valuable if you ever need to file an insurance claim.
Your Texas roof maintenance checklist should include every tool from the table above, along with contact info for your local roofing contractor. And if you own a commercial or flat-roof property, a separate flat roof inspection guide covers the unique concerns for those surfaces.
Step-by-step shingle roof maintenance routine
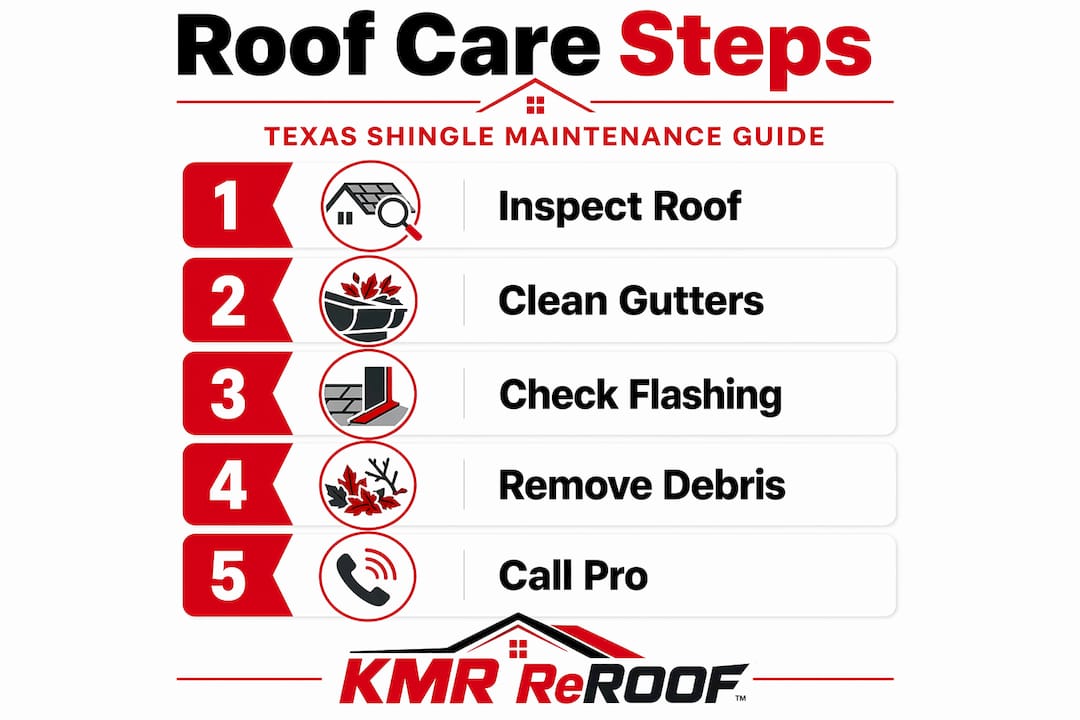
With tools prepped, you’re ready to tackle the maintenance steps themselves. Follow these steps in order, twice a year or after any significant storm.
-
Do a full ground-based visual inspection. Walk the entire perimeter of your home and use binoculars to scan all roof planes. Look for shingles that appear lifted, cracked, discolored, or missing entirely.
-
Check the attic first. Before you look outside, step into your attic on a sunny day and look for light coming through the decking. Any visible daylight means there’s a gap that water can use. Also look for staining, soft spots, or moisture on the decking boards.
-
Remove debris from the roof surface. Using a leaf blower or a soft-bristle brush, gently clear any leaves, twigs, and dirt from valleys and flat areas. The key advice from roofing experts is to remove debris gently without pressure washing, which strips the granule coating that protects your shingles from UV damage.
-
Clear gutters and downspouts completely. Clogged gutters cause water to back up under your shingle edges, which leads to fascia rot and interior leaks. Run water from a garden hose through the downspouts to confirm clear flow.
-
Inspect all flashing and vent boots. Metal flashing around chimneys, skylights, and roof edges is a prime entry point for water when it lifts or cracks. Rubber vent boots deteriorate over time, especially under Texas heat. These are the spots where most hidden leaks start.
-
Check every shingle for visible damage. Walk the inspection with your binoculars or camera zoom. Document anything you see with dated photos.
-
Replace damaged or missing shingles promptly. Don’t wait. A single missing shingle allows water to penetrate the underlayment and begin rotting the decking below. If you’re comfortable with light repairs, check how to fix roof shingles for guidance on safe DIY options.
Watch for these specific warning signs during your inspection:
- Curling shingles, either cupping upward at the edges or clawing in the middle
- Blistering, which looks like bubbles on the shingle surface and signals heat damage or trapped moisture
- Granule loss in gutters or on the ground below downspouts, leaving bald patches on shingles
- Dark staining or streaking, which often indicates algae
Pro Tip: Never use a pressure washer on your shingle roof. The high-pressure stream drives water under shingle edges and blasts off granules that protect against UV rays. Even one session can meaningfully shorten your roof’s remaining lifespan. A soft-bristle brush and a proper roof-safe cleaning product do the job without the risk.
How to handle debris, moss, and algae safely
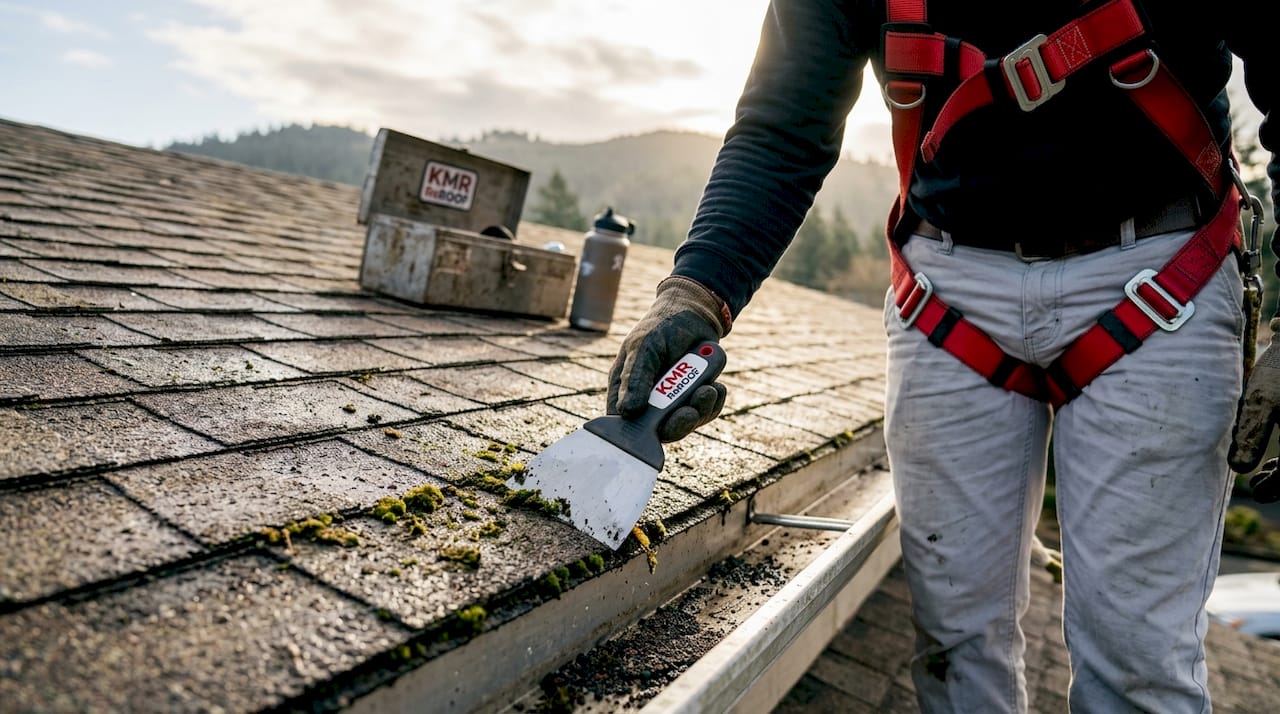
Routine maintenance often uncovers debris, moss, or algae. Here’s how to manage them safely.
Debris is the most common issue and the easiest to handle. Use these methods in order of preference:
- A leaf blower on a calm, dry day clears valleys and flat sections without touching the shingles
- A soft-bristle brush with gentle strokes works for more stubborn buildup
- Your hands (with gloves) for larger sticks or clumps near edges you can reach safely from a ladder
Moss and algae are trickier. Moss holds moisture against your shingle surface and physically lifts shingle edges over time. Algae, which shows up as those dark streaky stains common on Houston rooftops, doesn’t cause immediate structural damage but does signal moisture retention and can accelerate granule loss.
For algae, a diluted solution of water and household bleach (roughly 50/50) applied with a soft-bristle brush works well. Let it dwell for 15 to 20 minutes, then rinse gently with low-pressure water. For moss and algae removal, careful manual methods and appropriate cleaning products are recommended, with a firm warning to avoid pressure washing entirely.
Pro Tip: After treating algae, consider installing zinc or copper strips near the roof ridge. Rainwater carries trace amounts of these metals across the shingle surface, creating an environment where algae and moss can’t easily regrow. It’s a low-cost, long-term preventive move that works well in Houston’s humid climate.
Warning about granule loss: Every time you use aggressive cleaning methods or pressure washing, you strip away granules permanently. These tiny mineral particles are not decorative. They block UV radiation, add impact resistance, and are a direct indicator of remaining roof life. Once granule loss becomes significant, your shingles are near the end of their useful life, and no amount of cleaning will reverse the damage.
For more detailed approaches, the more roof maintenance tips resource covers seasonal variations specific to the Gulf Coast region.
Post-storm inspection and professional help
Finally, Texas’s frequent storms require special vigilance. Here’s what to do after severe weather rolls through El Campo or Houston.
Don’t wait days after a storm to check your roof. Within 24 to 48 hours, do a thorough ground-based scan. After wind and hail events, look for lifted shingles and exposed areas and get a professional assessment promptly to prevent hidden water intrusion. Hidden leaks are especially dangerous because water can travel along rafters and pool in areas far from where it actually entered, meaning you might not see interior damage until it’s already extensive.
Post-storm damage signs to look for immediately:
- Lifted, curled, or missing shingles anywhere on the roof surface
- Exposed dark underlayment where shingles have blown completely off
- Dented or displaced flashing around the chimney, vents, or edges
- Granule deposits in gutters after a hailstorm (a strong sign of impact damage)
- Damp spots or new staining in the attic or on ceiling drywall inside the home
- Bent or damaged gutters that may have absorbed hail impact
Storm-related damage is the leading driver of unexpected roofing repair costs for Texas homeowners. The Gulf Coast and inland Texas regions around El Campo see repeated severe weather seasons, meaning this isn’t a once-a-decade concern. It’s an annual reality.
After a significant storm, use the storm damage roof repair workflow as your guide for next steps, and check the hail damage roof checklist before contacting your insurance company. Documenting everything with photos before any repairs begin protects your claim.
The uncomfortable truth: DIY has limits and why pros matter
With all the steps covered, it’s time for an honest look at what homeowners can and shouldn’t handle themselves.
We see it regularly. A homeowner does their own inspection, spots a few lifted shingles, and decides to nail them back down and seal them with hardware store caulk. It looks fine from the ground. Six months later, there’s a water stain spreading across the bedroom ceiling. The fix was wrong, or the underlying problem was bigger than the shingle itself.
DIY inspections and gentle debris removal are genuinely useful and worth doing. They catch early warning signs and keep your roof cleaner. But complex repairs, including replacing damaged shingles, resealing flashing, and addressing any structural issue, should go to a licensed professional. Manufacturers are direct about this: improper installation during repairs voids warranties and creates new leak pathways that didn’t exist before.
“A trained roofer sees what years of experience teaches: subtle deck movement, underlayment failure, or flashing gaps that look minor to a homeowner but are actively letting water in.”
The other thing DIY misses is the full picture. Homeowners focus on visible damage. Professionals also check the underlayment condition, the decking integrity, the ventilation system, and whether the shingles have reached the point where repairs stop making financial sense against a replacement.
Our strong recommendation: handle your twice-yearly inspections and basic cleaning yourself, then build a relationship with a qualified local roofer who can do a professional assessment annually and after storms. Think of it like having a mechanic inspect your car once a year even if you do your own oil changes. When it comes to lasting roof repairs, professional hands protect both your roof and your warranty.
Pro Tip: Keep your roofing contractor’s number saved in your phone before you need it. After a big storm, every roofer in the area gets slammed with calls. Homeowners with an existing relationship get prioritized. Being proactive about your maintenance relationship pays off exactly when it matters most.
Protect your investment: Connect with Texas roofing experts
After walking through the full maintenance process, you know that consistent care is the real protection plan for your shingle roof. But when inspections reveal serious damage, or when repairs go beyond what’s safe for a homeowner to handle, having a trusted local expert changes everything.

At Mister ReRoof, we work with homeowners across El Campo, Houston, and the surrounding Texas region to keep roofs in top condition and handle everything from professional inspections to full replacements. Whether you need a thorough post-storm assessment or you’re ready to upgrade aging shingles, our team brings real Texas roofing expertise to every job. We specialize in shingle roof replacement in El Campo and offer the same quality service for shingle roof replacement in Hallettsville and nearby communities. Contact us today for a free estimate and let’s talk about what your roof actually needs.
Frequently asked questions
How often should I inspect my shingle roof in Texas?
Schedule roof inspections twice a year, in spring and fall, and add another check after any major storm involving hail or high winds.
Is it safe to use a pressure washer on my shingle roof?
No. Pressure washing strips protective granules and can drive water under shingle edges, shortening your roof’s lifespan significantly. Use gentle cleaning methods instead.
What are signs that my shingles need replacing?
Look for curling, blistering, or missing shingles, along with significant granule loss in your gutters. These are clear indicators your roof needs professional attention soon.
After a storm, what is the first thing I should check on my shingle roof?
Scan for lifted or missing shingles and exposed areas from the ground, then arrange a professional inspection within 24 to 48 hours to catch any hidden water intrusion before it spreads.
Should I do roof repairs myself or hire a pro?
DIY is fine for inspections and light cleaning, but complex shingle repairs should always go to a licensed professional to avoid voiding your warranty and creating new leak points.