
TL;DR:
- Most roof leaks stem from flashing failures at joints and penetrations rather than shingles themselves, making flashing the home’s critical water barrier. Regular inspections, proper installation, and code-compliant materials ensure long-term durability and prevent costly structural repairs caused by overlooked flashing issues. Properly installed and maintained flashing is essential for effective water management and preserving your roof’s warranty and integrity.
Most homeowners assume that shingles are the first line of defense against water damage. Here is the truth: 95% of roof leaks originate at flashing points, not from the roofing material itself. The role of flashing in roofs is to seal every joint, penetration, and transition where water would otherwise pour straight through. Understanding what flashing does, where it goes, and how it fails is one of the most practical things you can do to protect your home and avoid thousands of dollars in structural repairs down the road.
Table of Contents
- Key takeaways
- The role of flashing in roofs and why it matters
- Types of roof flashing and what each one does
- Common flashing failures and how to spot them early
- Flashing installation best practices and 2026 code compliance
- Maintaining and repairing roof flashing over time
- My honest take on flashing after years in roofing
- Protect your home with expert flashing and roof replacement
- FAQ
Key takeaways
| Point | Details |
|---|---|
| Flashing prevents most leaks | Nearly all roof leaks start at joints and penetrations, not from shingles, making flashing your roof’s most critical water barrier. |
| Multiple flashing types exist | Different locations demand different flashing, including step, counter, valley, and pipe boot flashing, each with a specific job. |
| Sealant alone will fail | Sealant-only applications fail within 5 to 7 years. Mechanical fastening is required for long-term protection. |
| Code compliance matters | The 2026 IRC sets minimum thickness, width, and material standards for flashing to protect your warranty and your home. |
| Inspect twice a year | Routine inspections catch early flashing failure before minor water intrusion becomes a decking and framing repair bill. |
The role of flashing in roofs and why it matters
Roof flashing is thin sheet metal, typically cut and formed into specific shapes, installed at every point where the roof surface meets another surface or structure. Think of it as a metal collar that seals the gap between your shingles and a chimney, skylight, or exterior wall. Without it, water would collect at those intersections and work its way through by gravity and capillary action.
The locations where flashing is installed include:
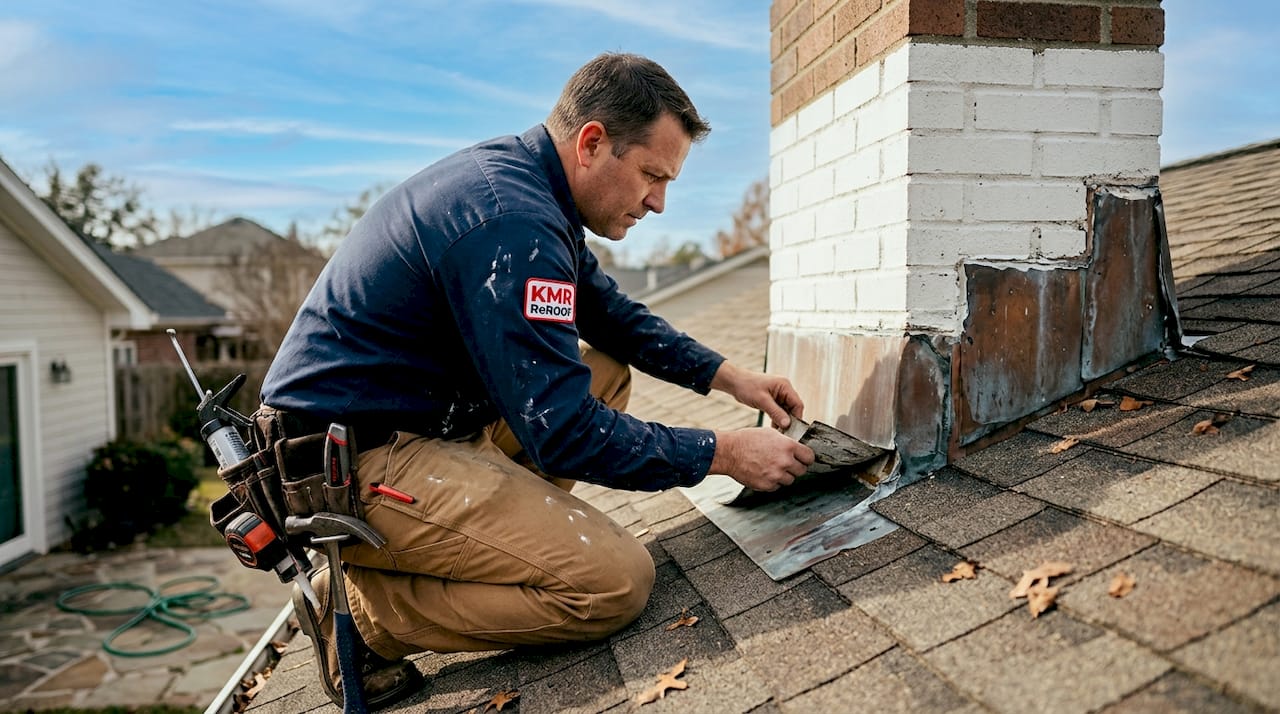
- Chimneys: All four sides require step flashing and counter flashing to direct water away from the masonry-to-roof joint.
- Roof-to-wall intersections: Where a sloped roof meets a vertical wall on a dormer or addition.
- Valleys: Where two roof slopes meet, channeling high volumes of water during heavy rain.
- Skylights: The perimeter of every skylight frame needs flashing to prevent water intrusion at the curb.
- Pipes and vents: Any penetration through the roof deck requires a collar or boot.
Flashing is more critical than shingles in stopping leaks because shingles shed water on flat or angled surfaces. At joints and penetrations, shingles alone cannot form a waterproof seal. The 2026 IRC Section R903.2 mandates corrosion-resistant flashing at every roof-wall intersection, valley, and penetration. Skipping or cutting corners on flashing does not just risk leaks. It puts your roof warranty and code compliance on the line.
Types of roof flashing and what each one does
Knowing the types of flashing helps you have smarter conversations with contractors and spot potential problems during a visual inspection.
Step flashing consists of small rectangular pieces of metal, each woven into the shingle course and bent vertically against the wall. Each piece overlaps the one below it, creating a staircase of waterproofing up the wall. This is the foundation of any wall-to-roof junction.
Counter flashing is installed over the top of step or base flashing and is embedded into mortar joints on a chimney or wall. It covers the upper edge of the base flashing to prevent water from getting behind it. Without counter flashing, water can still run down the wall and under the base flashing from above.
Valley flashing handles the highest volume of water flow on any roof. Valleys require minimum 24-inch-wide metal flashing centered in the channel, often combined with ice-and-water shield membrane underneath. There are three methods: open valley (metal exposed), closed-cut (shingles overlap one side), and woven (shingles interlock). Open valleys with wide metal flashing generally offer the best long-term performance.
Pipe boot flashing seals around vertical pipes coming through the roof deck. Most pipe boots use a neoprene collar that lasts 15 to 20 years, which is often shorter than the shingles around it. UV exposure degrades the rubber, so pipe boots need monitoring even on newer roofs.
Here is a quick comparison of the most common flashing materials:
| Material | Lifespan | Cost Level | Best Use |
|---|---|---|---|
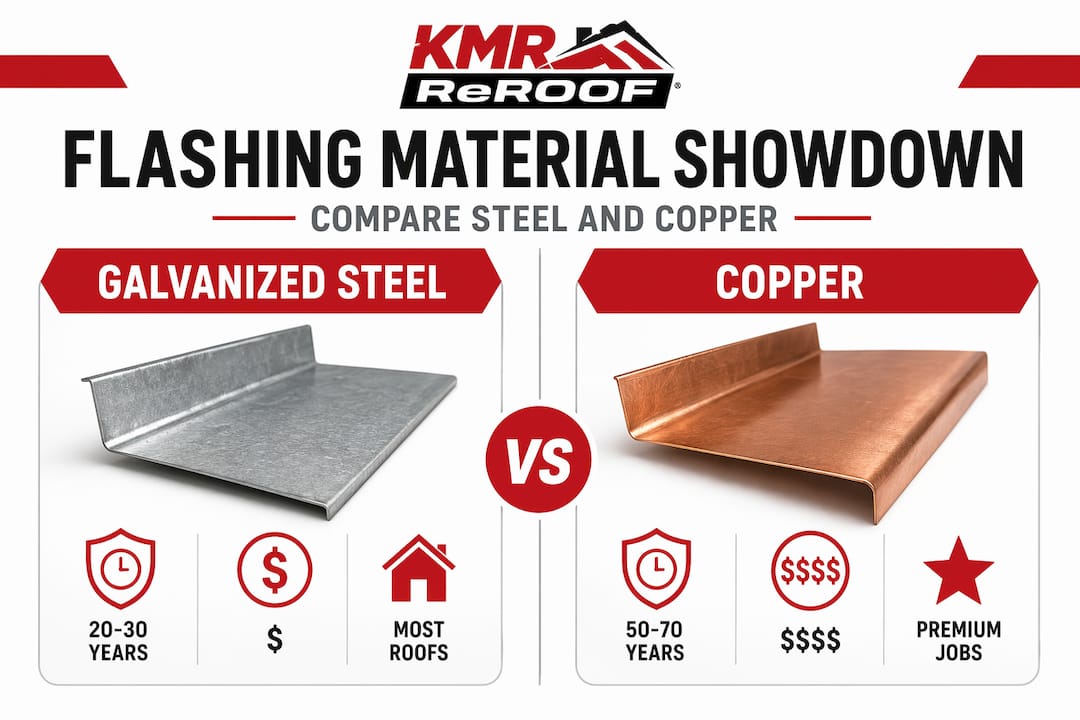
| Galvanized steel | 20 to 30 years | Low to moderate | General residential use |
| Aluminum | 20 to 30 years | Low to moderate | Lightweight applications, walls |
| Copper | 50 to 70 years | High | Premium installs, historic homes |
| Lead-coated copper | 50 to 70 years | Very high | Complex shapes, chimneys |
Copper lasts 50 to 70 years but costs four to six times more than galvanized steel. For most homeowners, galvanized steel or aluminum delivers solid performance at a manageable price when installed correctly.
Pro Tip: Never mix aluminum and copper flashing on the same roof. Contact between dissimilar metals causes galvanic corrosion, accelerating material failure at the joint.
Common flashing failures and how to spot them early
Most flashing failures do not announce themselves loudly. They start small, with a hairline crack in a sealant bead or a slightly lifted counter flashing edge, and grow quietly behind your walls and ceiling until the damage is visible inside your home.
The most frequent causes of flashing failure include:
- Sealant-only installation: Caulk or sealant fails within 5 to 7 years from drying, cracking, and thermal cycling. It is not a substitute for properly formed and mechanically fastened metal.
- Galvanic corrosion: Mixing incompatible metals, such as aluminum nails with copper flashing, causes electrochemical degradation that eats through the metal over time.
- Thermal expansion: Aluminum expands approximately 0.019 inches over a 24-inch length across a 60°F temperature range. When flashing is rigidly fastened without room to move, sealant cracks and joints open up.
- Improper chimney flashing: Missing or shallow counter flashing, and no step flashing on the sides, are among the most common flashing failure scenarios roofers encounter.
- Incorrect installation: Flashing installed under the shingles where it should be over them, or vice versa, defeats its entire purpose.
What you should look for during a visual check from the ground or attic:
- Water stains on ceilings near chimneys, skylights, or dormers
- Rust streaks or discoloration on or around metal flashing
- Peeling paint or mold on interior walls below roof penetrations
- Visible gaps, bent metal, or separated joints when viewed from a ladder
Minor flashing damage left unaddressed does not stay minor. Water reaching the roof deck and framing leads to exponentially more expensive structural repairs than catching the problem early.
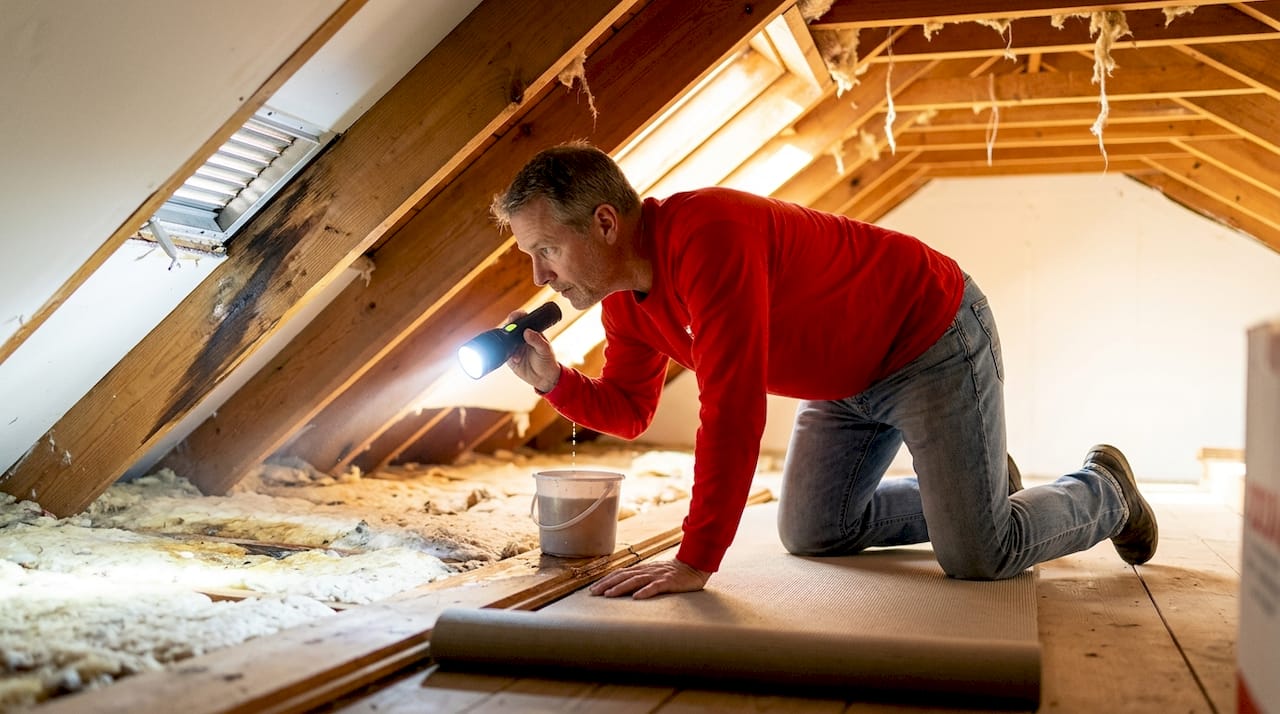
Pro Tip: Check your attic after every major storm. Daylight showing through the deck or wet insulation near a penetration almost always points to a flashing problem, not a shingle failure.
Flashing installation best practices and 2026 code compliance
Getting flashing right is a matter of sequencing, material selection, and following current code requirements. Here is what proper roof flashing installation looks like under the 2026 IRC:
- Select code-compliant materials. Flashing must be minimum 0.019 inches thick, equivalent to 26-gauge galvanized steel. Corrosion resistance is non-negotiable. Review Texas roofing code requirements for any local amendments that apply to your area.
- Sequence with underlayment. Flashing must be integrated with the roofing underlayment, not applied on top as an afterthought. Proper installation coordinates metal placement with underlayment layering and shingle application to create a fully integrated waterproof system.
- Install valley flashing correctly. Valleys require 24-inch minimum width, centered in the channel, with ice-and-water shield membrane beneath. Valley flashing is the most complex and critical area on any residential roof.
- Use mechanical fasteners. Nails or screws with appropriate corrosion-resistant coatings hold flashing in place. Sealant can be used at edges as a secondary measure, never as the primary attachment method.
- Detail chimneys fully. Step flashing, base flashing, and counter flashing embedded at least 1 inch into the mortar joint are all required at chimneys. Each component has a job. Skipping any one of them creates an entry point.
- Hire a licensed contractor. Improper flashing installation can void your roof warranty and cause recurring leaks that are expensive to trace and fix.
Here is a reference table for minimum flashing specifications by location:
| Location | Minimum Width | Underlayment Required | Primary Fastening |
|---|---|---|---|
| Valley | 24 inches | Ice-and-water shield | Mechanically fastened |
| Chimney sides | Per step course | Standard underlayment | Nailed per course |
| Roof-to-wall | Per step course | Standard underlayment | Nailed per course |
| Pipe penetrations | Per pipe diameter | None required | Boot secured to deck |
Maintaining and repairing roof flashing over time
Flashing is not set-and-forget. Texas weather, with its heat, UV exposure, and intense Gulf Coast storms, puts flashing under significant stress year after year. A few consistent habits will extend your flashing’s useful life considerably.
Schedule inspections twice a year, ideally in spring and fall. During each check, look for:
- Lifted or separated flashing edges at chimneys and walls
- Cracked or missing sealant at pipe boots and joints
- Rust or white mineral deposits indicating moisture movement
- Debris buildup in valleys that holds water against the metal
When minor repairs are appropriate, a small gap in sealant on a pipe boot with structurally sound metal beneath can often be addressed with roofing-grade sealant. Partial repair is viable only when the base metal is intact and the installation geometry is correct. When the metal itself is corroded, lifted, or was improperly installed from the start, full replacement is the only reliable fix. Piling sealant on top of a poorly installed flashing job just delays the inevitable.
Routine inspections catch flashing problems before they reach the decking and framing, where repair costs multiply quickly. A flashing repair might run a few hundred dollars. A decking replacement after sustained water infiltration can cost several thousand. The math is not complicated.
Pro Tip: Keep gutters and valleys clear of leaves and debris. Standing water against flashing joints, even for short periods, accelerates corrosion and pushes water under edges that are otherwise watertight.
For guidance on selecting materials that hold up over time, the article on choosing lasting roofing materials covers which options perform best in high-heat, high-humidity climates like Texas.
My honest take on flashing after years in roofing
I have seen more than a few homeowners get blindsided by a leak they assumed would be a simple shingle replacement, only to find out the chimney flashing had been caulked instead of properly installed. The water had been tracking behind the walls for two years.
In my experience, flashing is the most underestimated part of any roofing system. Homeowners see shingles because shingles are visible. Flashing hides in the joints, and because it is out of sight, it rarely gets attention until something goes wrong.
The biggest mistake I see is trusting a low bid from a contractor who plans to seal everything with caulk and call it done. Sealants dry out. Metal does not, provided it was formed and fastened correctly from the beginning.
My strongest advice: when you have roof work done, ask specifically how the flashing will be installed and what material will be used. A contractor who cannot give you a direct answer about step flashing sequencing or valley width is not someone you want on your roof. Investing in quality flashing installation upfront costs far less than tracking down a mystery leak two winters from now.
For more on what causes leaks and where they start, the article on roof leak causes in Houston is worth reading before you schedule your next inspection.
— Misterreroof
Protect your home with expert flashing and roof replacement
If your roof is approaching the end of its lifespan, or if you have noticed water stains, peeling paint, or visible flashing gaps, this is the right time to act. Deferred maintenance on flashing is one of the fastest ways to turn a manageable repair into a full structural project.

Misterreroof provides professional metal roof replacement in Victoria, TX and throughout the surrounding region, with flashing installed to meet 2026 IRC standards and manufacturer warranty requirements. Whether you need shingle replacement or metal roofing with fully detailed chimney and valley flashing, Misterreroof brings the technical knowledge and hands-on experience to get it done right. Contact Misterreroof today for a free estimate and let an experienced crew inspect your flashing before the next storm season hits.
FAQ
What is roof flashing and where is it installed?
Roof flashing is thin sheet metal installed at joints, penetrations, and transitions on a roof, including chimneys, skylights, valleys, walls, and pipes. Its job is to direct water away from these vulnerable points and prevent it from entering the structure.
Why is flashing more important than shingles for preventing leaks?
Nearly all roof leaks originate at flashing points rather than shingle surfaces, because shingles cannot form a waterproof seal at joints and penetrations. Flashing is the only material that bridges those gaps effectively.
How long does roof flashing last?
Lifespan depends on material. Galvanized steel and aluminum typically last 20 to 30 years, while copper can last 50 to 70 years. Pipe boot neoprene collars often degrade in 15 to 20 years, sometimes before the surrounding shingles need replacement.
Can you repair flashing with sealant alone?
Sealant can address minor gaps on structurally sound metal as a secondary measure, but it is not a standalone fix. Sealant-only applications fail within 5 to 7 years and are not code-compliant as a primary fastening method.
How often should roof flashing be inspected?
Inspect flashing at least twice a year, in spring and fall, and after any major storm. Early detection of loose, corroded, or separated flashing prevents water from reaching the roof deck and framing where repair costs rise dramatically.