
Living in Houston means battling sudden downpours, scorching Texas afternoons, and intense wind storms that put every roof to the test. If you’re planning to install metal roofing on your home, the steps you take now can safeguard your investment for decades of unpredictable weather. This guide walks you through each phase, focusing on structural integrity and moisture protection to help you achieve a roof that stands up to Houston’s toughest challenges.
Table of Contents
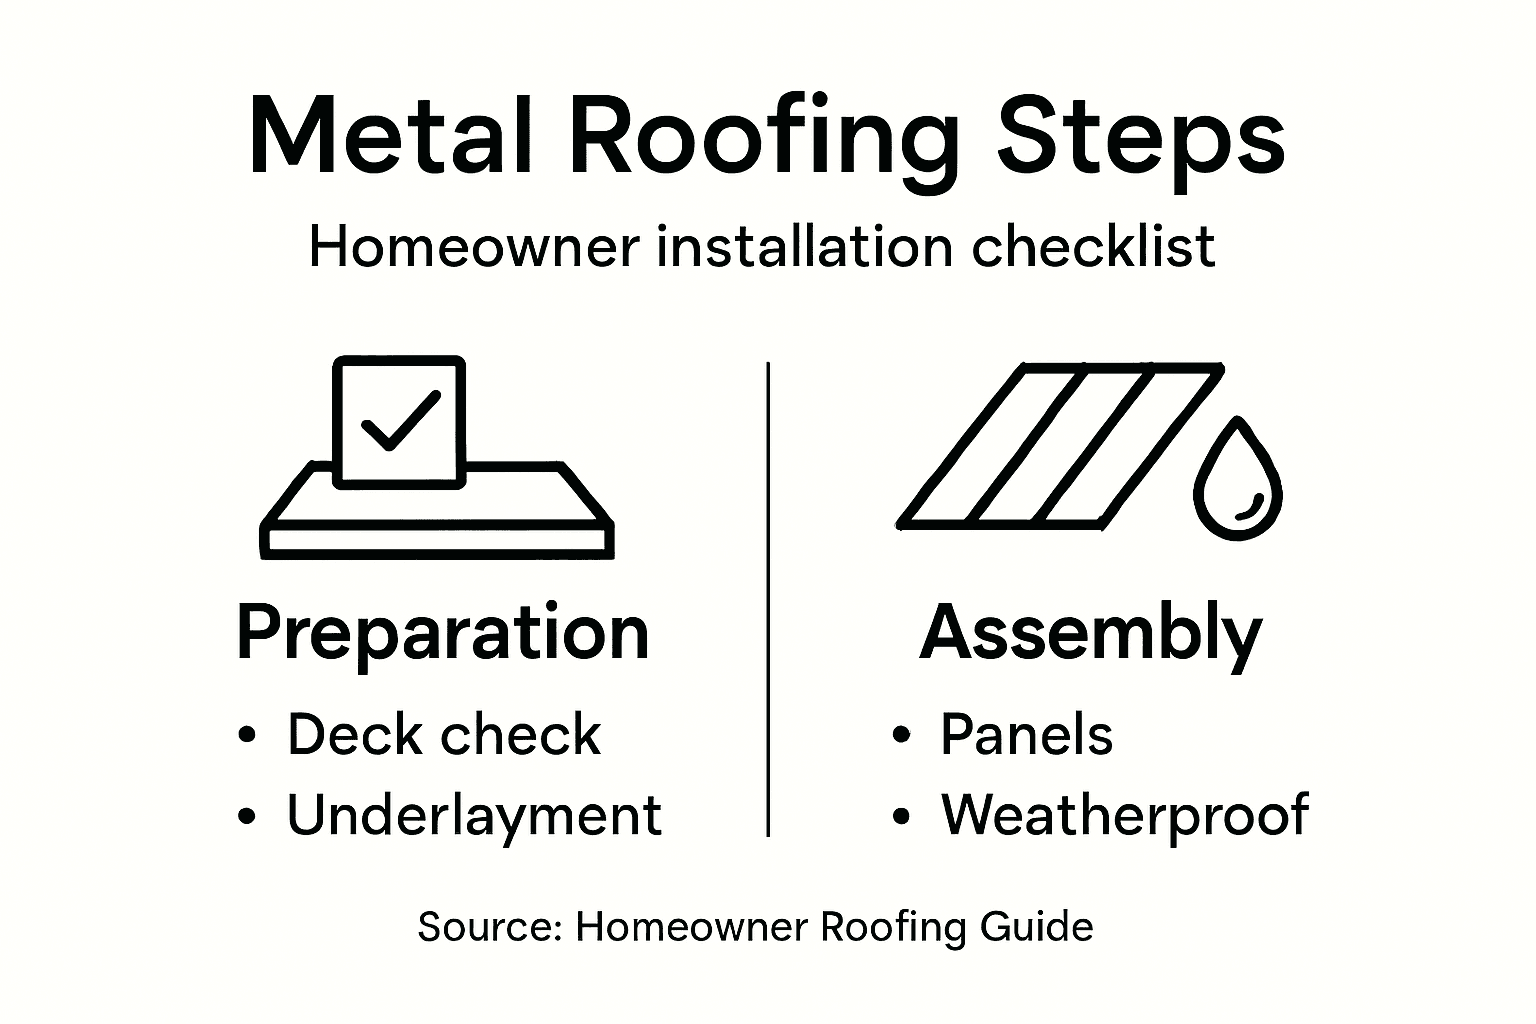
- Step 1: Evaluate and Prepare the Roof Deck
- Step 2: Install Underlayment and Flashing
- Step 3: Position and Secure Metal Panels
- Step 4: Seal Joints and Add Ridge Caps
- Step 5: Inspect and Confirm Weatherproofing
Quick Summary
| Key Point | Explanation |
|---|---|
| 1. Inspect Roof Deck Thoroughly | Check for damage or weaknesses before installation to ensure support for new metal roofing materials. |
| 2. Use Quality Underlayment and Flashing | Install high-quality synthetic underlayment and flashing to prevent moisture infiltration and protect your home. |
| 3. Ensure Proper Panel Alignment | Position metal panels accurately with consistent overlaps to optimize drainage and structural integrity. |
| 4. Seal all Joints Effectively | Apply high-quality sealant to joint seams and around penetrations to maintain a watertight seal. |
| 5. Conduct a Detailed Final Inspection | Review all installation aspects for gaps or leaks to confirm weatherproofing of the new metal roof. |
Step 1: Evaluate and Prepare the Roof Deck
Preparing your roof deck is a critical first step in metal roofing installation that can make or break the entire project. Before laying down a single metal panel, you’ll need to conduct a thorough assessment and strategic preparation of the underlying surface.
Start by performing a comprehensive evaluation of your existing roof deck. Look for any signs of damage, decay, or structural weakness that could compromise your new metal roofing system. Check for proper deck structural integrity to ensure it can support the new roofing materials. Key areas to inspect include:
- Wooden decking for rot or water damage
- Signs of sagging or uneven surfaces
- Previous repair patches or temporary fixes
- Potential areas of moisture penetration
Your roof deck must be absolutely smooth and straight, with minimal deflection. Professional guidelines recommend that deck deflection should be limited to 1/240 of the total span, which helps prevent future structural issues. For low-slope roofs, maintaining a minimum slope of 1:50 is crucial to prevent water ponding and ensure proper drainage.
If you discover any structural problems during your inspection, address these immediately before proceeding with metal roofing installation. This might involve replacing damaged plywood, reinforcing support structures, or consulting a professional roofing contractor to assess more complex issues.
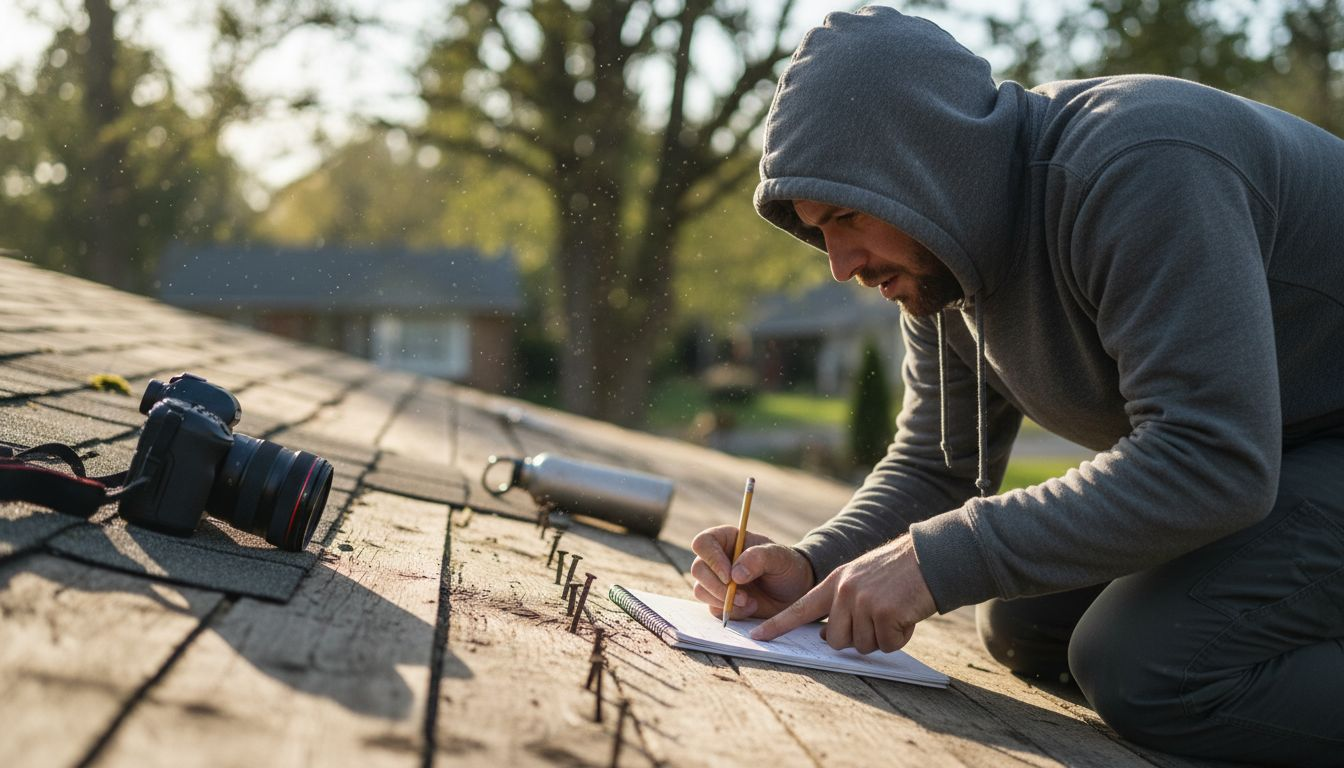
Pro tip: Always take photographs of your roof deck during evaluation to document its condition and provide a clear reference for any repairs or modifications needed.
Step 2: Install Underlayment and Flashing
Installing the right underlayment and flashing is crucial for creating a watertight barrier that protects your home from moisture damage and ensures the longevity of your metal roof. This step requires precision and attention to detail to prevent potential leaks and structural issues.
Begin by applying a high-quality synthetic underlayment that provides robust protection against water infiltration. Synthetic underlayment installation involves carefully layering two sheets in a shingle-style fashion, ensuring significant overlap to create a continuous waterproof barrier. Your key installation steps include:
- Unroll the first layer of synthetic underlayment parallel to the roof edge
- Overlap each subsequent row by at least 4 inches vertically
- Secure the underlayment with appropriate roofing nails or staples
- Ensure complete coverage without wrinkles or gaps
Next, focus on critical flashing installation. Proper flashing is essential at all roof penetrations and intersections, such as chimneys, vents, and where roof planes meet walls. Carefully position metal flashings to direct water away from vulnerable areas and underneath the roofing materials. Pay special attention to step and kickout flashings, which are crucial for preventing water intrusion at roof-wall junctions.
Proper flashing is your roof’s first line of defense against water damage – don’t cut corners during this critical step.
When installing flashings, use corrosion-resistant metal materials that match or complement your metal roofing. Secure them firmly but allow for slight movement to prevent buckling or sealant failure. Ensure each flashing piece overlaps the one below it, creating a water-shedding pathway that guides moisture away from your home’s structure.
To clarify the different types of roof flashing and their purposes, here’s a quick reference table:
| Flashing Type | Location | Purpose |
|---|---|---|
| Step Flashing | Roof-wall junctions | Directs water away from wall seams |
| Kickout Flashing | Where roof meets vertical wall | Prevents water from entering wall cavities |
| Chimney Flashing | Around chimney base | Seals chimney to prevent leaks |
| Vent Flashing | Around vent pipes | Ensures watertight seal at penetrations |
| Valley Flashing | Where roof planes intersect | Channels water down to gutter system |
Pro tip: Use a quality roofing sealant at all flashing joints and edges to create an additional barrier against potential water infiltration.
Step 3: Position and Secure Metal Panels
Positioning and securing metal roofing panels is a critical step that demands precision and careful planning to ensure a watertight, durable roof that can withstand Houston’s challenging weather conditions. This phase transforms your roof from an exposed structure to a protective shield for your home.
Begin by carefully orienting metal panels according to your specific roof design. Panels should be positioned with their ribs parallel to the roof slope to optimize water drainage and structural integrity. Your key installation steps include:
- Align the first panel at the roof’s lowest edge
- Ensure panels are perfectly straight and square
- Maintain consistent overlap between panels
- Check alignment using a chalk line for precision
Fastener placement is crucial for long-term performance. Install fasteners at the top of panel joints, avoiding potential water pathways. Use corrosion-resistant fasteners specific to metal roofing that can withstand temperature fluctuations and wind loads. Space fasteners according to manufacturer specifications, typically every 12 to 24 inches depending on your specific panel type and local building codes.
Proper panel alignment and secure fastening are the difference between a roof that lasts decades and one that fails prematurely.
Consider using a concealed fastener system for a cleaner aesthetic finish. These systems often include snap-on caps that hide the fasteners while providing robust attachment. Remove any protective films from the panels carefully to prevent scratching and maintain the metal’s finish.
Pro tip: Always test-fit a few panels before full installation to confirm your measurements and alignment are precise.
Step 4: Seal Joints and Add Ridge Caps
The final critical stage of metal roofing installation involves sealing joints and installing ridge caps to create a completely watertight and professionally finished roof. This process protects your home from moisture intrusion and ensures the long-term performance of your metal roofing system.
Begin by carefully preparing for ridge cap installation, which requires precision and attention to detail. Your key steps for sealing and capping include:
- Clean all joint surfaces thoroughly before sealing
- Select appropriate elastic cement or metal flashing
- Ensure consistent and complete coverage along seams
- Apply sealant using professional-grade caulking tools
Sealing techniques are crucial for preventing water penetration. Use high-quality elastic cement specifically designed for metal roofing, applying it in a continuous bead along panel joints and overlaps. Pay special attention to areas around roof penetrations like vents, chimneys, and skylights, where water can potentially infiltrate.
A properly sealed roof is your home’s first line of defense against water damage – take no shortcuts.
For ridge caps, use longer fasteners that penetrate deeply into the roof sheathing to ensure secure attachment. Consider installing protective strips such as felt or metal underneath the ridge caps for additional waterproofing. Ensure proper ventilation at the ridge to prevent moisture buildup and potential structural issues.
Pro tip: Apply sealant on a dry, moderate temperature day to ensure optimal adhesion and curing.
Step 5: Inspect and Confirm Weatherproofing
The final crucial step in metal roofing installation is a comprehensive inspection to ensure absolute weatherproofing and long-term performance. Your meticulous review will protect your home from potential water damage and validate the quality of your installation.
Begin by examining roof penetrations and seals with a systematic approach. Focus on critical areas that are most vulnerable to water intrusion. Your comprehensive inspection checklist should include:
- Verify complete seal around chimneys and vents
- Check flashing for proper alignment and tight connections
- Inspect metal panel overlaps for consistent coverage
- Look for any gaps or potential water entry points
Waterproofing validation requires careful attention to detail. Pay special focus to roof valleys, where water naturally concentrates. Ensure that self-sealing membranes are correctly installed and create a continuous barrier against moisture. Look closely for any signs of potential leakage or improper installation.
A single overlooked gap can compromise your entire roofing system – inspect every inch carefully.
Consider using a water test to simulate rain conditions and identify any potential weak points. Spray water systematically across different roof sections and observe how water flows and whether any leaks emerge. Document your findings with clear photographs that can serve as a record of your thorough inspection.
Pro tip: Conduct your final inspection during daylight hours and from multiple angles to catch even the smallest potential issues.
For a concise overview, here’s a summary table highlighting the key goals of each installation step:
| Step | Primary Goal | Critical Action |
|---|---|---|
| Prepare Roof Deck | Structural integrity | Inspect and repair surface |
| Install Underlayment/Flashing | Moisture protection | Layer materials & seal joints |
| Position Metal Panels | Weather resistance | Align, overlap, fasten properly |
| Seal Joints/Add Ridge Caps | Leak prevention | Seal seams and ventilate ridge |
| Inspect Weatherproofing | Quality assurance | Check for gaps/leaks thoroughly |
Protect Your Home with Expert Metal Roofing Installation in Houston
Metal roofing installation demands precision in every step from deck preparation to final weatherproof inspection. Issues like improper flashing or misaligned panels can cause costly leaks or structural damage under Houston’s harsh weather. If you want to avoid these common problems and ensure a durable, storm-resistant roof that lasts decades, trusting professionals who understand these critical steps is essential.
Mister ReRoof specializes in expertly installed metal roofs tailored for Houston homes. Our team ensures every phase—from roof deck evaluation and synthetic underlayment installation to precise panel positioning and sealing—is done with care and expertise. We focus on quality fasteners, corrosion-resistant flashings, and thorough inspections to give you peace of mind against water infiltration and weather damage.
Schedule a free estimate today and experience how our proven approach to high-quality metal roofing can protect your home. Don’t leave your roofing project to chance. Let the Houston local experts at Mister ReRoof safeguard your investment with an installation done right the first time.
Frequently Asked Questions
What should I check before starting metal roofing installation?
To ensure a successful installation, evaluate the roof deck for signs of damage, decay, or structural weakness. Inspect for moisture penetration, sagging, and previous repairs, then address any issues before beginning your project.
How do I properly install underlayment and flashing for metal roofing?
Begin by installing a high-quality synthetic underlayment with overlapping layers to create a waterproof barrier. Then, ensure all flashing pieces are correctly positioned to direct water away from potential leak points, such as vents and chimneys.
What is the correct method for positioning and fastening metal panels?
Position metal panels with their ribs aligned parallel to the roof slope to optimize drainage. Secure them using corrosion-resistant fasteners placed according to manufacturer specifications, typically every 12 to 24 inches, for structural integrity.
How do I seal joints and install ridge caps effectively?
Seal all joints with high-quality elastic cement to create a watertight seal, focusing on areas around penetrations like vents and chimneys. When installing ridge caps, use longer fasteners for better support and ensure proper ventilation at the ridge to prevent moisture buildup.
What steps should I take to inspect my metal roofing for leaks?
Conduct a thorough inspection of all roof penetrations, seals, and panel overlaps, checking for gaps. Consider performing a water test, where you spray water across different sections to identify any weak points that may lead to leaks.
How can I document the metal roofing installation process?
Take detailed photographs during each step of the installation, especially during inspections, to document the condition of the roof deck and any repairs made. This documentation can help manage any future warranty claims or repairs and serves as a reference for maintenance.
